
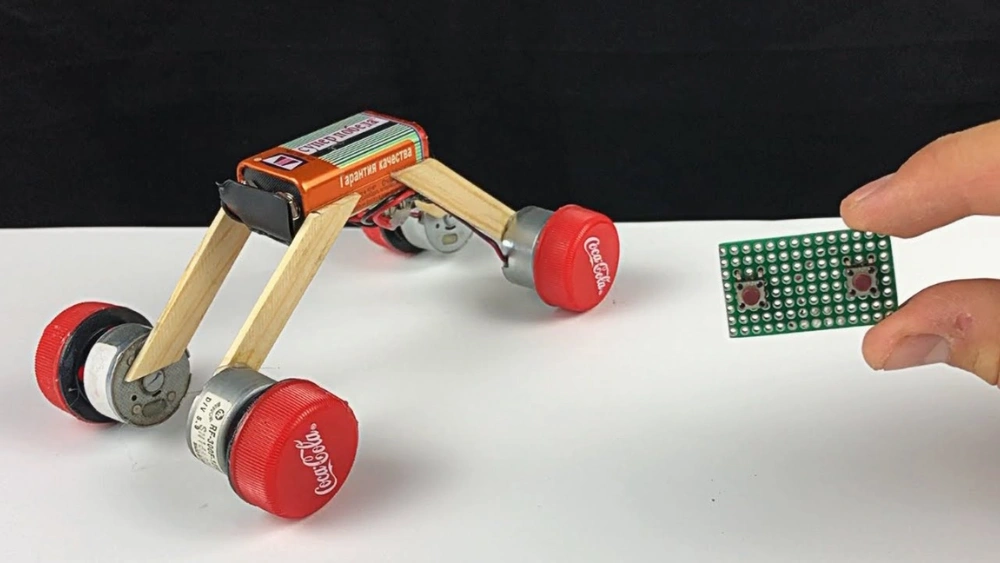
Imagine the joy of seeing a toy come to life in your hands. Electronic toys are not just for children; they’re a fascinating world of creativity and innovation that anyone can dive into.
Whether you’re looking to impress your friends, spark your child’s interest in technology, or simply indulge in a rewarding hobby, learning how to make electronic toys can be your next exciting adventure. You might think it’s a complex task, but with the right guidance, you’ll discover it’s easier than you imagine.
We’ll break down the process into simple, manageable steps, turning an intimidating task into an enjoyable experience. Stick with us, and you’ll soon find yourself crafting electronic wonders that light up and buzz with life, all crafted by your own hands.

Credit: www.youtube.com
Essential Tools And Materials
Gathering the right tools and materials is key to making electronic toys. Using proper items ensures smooth building and better results. This section covers the basics needed to start your project with confidence.
Basic Electronics Components
Start with essential parts that bring your toy to life. Common components include:
- Resistors to control electric current
- Capacitors for storing and releasing energy
- LEDs to add light effects
- Transistors to switch and amplify signals
- Batteries for power supply
- Microcontrollers for simple programming
- Motors for movement
- Wires and connectors to link parts
These pieces form the foundation of most electronic toys. Choose parts based on your design needs.
Required Tools For Assembly
Having the right tools makes assembly easier and safer. Essential tools include:
- Soldering iron for joining components
- Wire cutters to trim excess wires
- Needle-nose pliers for bending and holding wires
- Screwdrivers for securing parts
- Multimeter to test circuits
- Heat shrink tubing for insulation
- Helping hands or clamps to hold pieces steady
Organize your workspace with these tools for smooth building.
Safety Precautions
Safety is important while working with electronics. Follow these tips:
- Work in a well-ventilated area
- Wear safety glasses to protect your eyes
- Handle soldering iron with care to avoid burns
- Avoid loose clothing near tools
- Keep liquids away from electronic parts
- Unplug tools when not in use
- Use proper disposal methods for electronic waste
These steps help prevent accidents and keep your project safe.

Credit: www.youtube.com
Simple Circuits For Toys
Simple circuits form the heart of many electronic toys, making them light up, buzz, or move. Understanding these basic circuits gives you the power to create or fix toys with ease. You don’t need advanced skills—just a few components and curiosity.
Creating A Basic Led Circuit
Start by connecting an LED to a power source through a resistor. The resistor controls the current to prevent the LED from burning out. Try this with a 9V battery and a 220-ohm resistor; you’ll see the LED glow instantly.
Have you ever noticed how a tiny LED can brighten up a whole toy? This simple effect can spark creativity in your projects. Experiment with different LED colors or multiple LEDs in a row to add more fun.
Using Batteries And Switches
Batteries are your toy’s power source, and switches control when the toy turns on or off. Adding a switch between the battery and the LED lets you save battery life and control the light easily.
Think about a toy car: without a switch, it would always run or drain power. Adding a simple toggle or push-button switch puts you in control. It’s a small step that makes a big difference.
Adding Sound With Buzzers
Buzzers bring toys to life with sound, making them more engaging. Connecting a buzzer to your circuit is just like adding an LED, but it produces noise instead of light.
Try wiring a buzzer in parallel with an LED—when you press the switch, you get light and sound together. What sounds would you create for your toy? A beep, a buzz, or something unique?
Step-by-step Toy Assembly
Assembling an electronic toy requires careful planning and patience. Each part must fit and work well with others. Following clear steps helps create a toy that functions smoothly and safely. Understanding the layout, wiring, and testing are key to success.
Designing Your Toy Layout
Begin by sketching your toy’s design on paper. Mark where each component will go. Think about space and balance to avoid crowding parts. Plan battery placement for easy access. Use simple shapes and clear labels for each element.
Consider the connections between parts. Draw lines showing where wires will run. Keep wires short to reduce clutter. Organize components logically so the toy is easy to assemble and maintain.
Wiring And Soldering Tips
Use quality wires that fit your components well. Strip wire ends carefully to avoid damage. Twist wires before soldering for a stronger bond. Heat the joint just enough to melt solder without burning parts.
Work in a well-lit area and avoid loose clothing. Secure wires with small clips or tape. Double-check connections for firmness and correct placement. Keep soldering iron tips clean for neat joints.
Testing Your Electronic Toy
Test the toy in stages to find problems early. Check power flow before connecting sensitive parts. Use a multimeter to measure voltage and continuity. Confirm lights, sounds, or movements work as planned.
If something fails, inspect wiring and solder points carefully. Fix issues and retest until the toy performs reliably. Testing ensures safety and fun for the final product.
Customizing And Expanding
Customizing and expanding your electronic toys opens up a world of fun and creativity. You can transform simple projects into dynamic, interactive gadgets that truly capture attention. The key is to experiment with different features that bring your toy to life in new and exciting ways.
Adding Lights And Movement
Lights and movement instantly make any electronic toy more engaging. Adding LEDs is a simple way to add color and excitement. You can use motors or small servos to create moving parts, like spinning wheels or waving arms.
Think about how a flashing light or a moving component can grab attention. Have you ever noticed how your eyes are drawn to a toy that blinks or moves? That’s the kind of effect you want to create.
Incorporating Sensors
Sensors allow your toy to react to its environment, making it interactive. Basic sensors like buttons or light sensors can trigger sounds or movements. More advanced sensors, such as proximity or motion sensors, can add unexpected responses.
Imagine your toy lighting up when someone waves near it or making sounds when it detects movement. Sensors turn your toy from a static object into a playful companion.
Upgrading With Microcontrollers
Microcontrollers are the brains behind complex functions. Using devices like Arduino or Raspberry Pi lets you program your toy for custom behaviors. This upgrade opens possibilities like controlling lights, sounds, and movements in sync.
Programming might sound daunting, but starting with simple codes can quickly show results. Have you tried writing a few lines of code to make your toy react differently? It’s rewarding to see your ideas come alive through programming.

Credit: m.youtube.com
Frequently Asked Questions
What Basic Components Are Needed For Electronic Toys?
Basic components include batteries, wires, switches, LEDs, resistors, and motors. These parts help build simple circuits for toy functions.
How Can Beginners Safely Make Electronic Toys?
Use low voltage batteries and avoid exposed wires. Follow instructions carefully and work in a clean, dry space to ensure safety.
What Skills Are Required To Make Electronic Toys?
Basic knowledge of circuits, soldering, and using tools is essential. Creativity and patience also help in designing and assembling toys.
Where Can I Find Electronic Toy Kits?
Electronic toy kits are available online and in hobby stores. They often include all parts and instructions for easy assembly.
Conclusion
Making electronic toys can be fun and rewarding. You only need simple tools and parts. Follow the steps carefully to build your toy. Each project teaches you new skills and ideas. Try different designs to see what works best. Enjoy the process and learn as you go.
Soon, you will create toys you are proud of. Keep experimenting and have fun with electronics!