

Got an old electronic toy that’s collecting dust because the battery won’t hold a charge? You’re not alone.
Many of us have cherished toys from our childhood that we can’t bear to part with. The good news is, you don’t have to! With a little bit of know-how and some handy tips, you can bring those battery-operated favorites back to life.
Imagine the joy of watching your toy spring back to action, just like it did years ago. In this guide, you’ll discover simple steps to repair and rejuvenate old electronic toys, making them as good as new. Whether you’re a nostalgic collector or just looking to save money, this is your chance to revive the joy those toys once brought. Keep reading, and let’s get those toys buzzing again!
Identifying Common Battery Issues
Identifying common battery issues is the first crucial step in repairing old battery-operated electronic toys. Batteries often hide simple problems that, once spotted, can save you from unnecessary replacements or complicated repairs. Knowing what to look for helps you act quickly and get the toy back to life.
Signs Of Battery Failure
Look out for toys that won’t turn on or suddenly stop working during play. Dim lights, slow or weak motor sounds, and intermittent power are clear hints that the battery is struggling. Sometimes, you might notice corrosion or leakage around the battery compartment, which is a red flag for battery failure.
Have you ever had a toy that worked perfectly but started acting up after sitting unused? That’s often battery degradation. Paying attention to these signs can save you time and frustration.
Checking Battery Contacts
Battery contacts can get dirty or corroded, blocking the flow of electricity. Remove the batteries and inspect the metal contacts inside the compartment. If they look rusty or have a white, powdery buildup, they need cleaning.
Use a cotton swab dipped in vinegar or lemon juice to gently clean the contacts. Dry them thoroughly before reinserting the batteries. Sometimes, this simple step can restore power without changing the batteries.
Testing Battery Voltage
Even fresh-looking batteries might be dead inside. Use a multimeter to check the voltage of each battery. A fully charged AA or AAA battery should read about 1.5 volts. Anything below 1.2 volts usually means it’s time for a replacement.
If you don’t have a multimeter, many hardware stores offer testing services for free. Testing helps avoid guessing and ensures you only replace batteries when necessary, saving money and effort.

Credit: www.freemalaysiatoday.com
Gathering Essential Tools And Materials
Repairing old battery-operated electronic toys needs some basic tools and materials. Gathering these items first makes the process smooth and efficient. Having the right tools helps fix the toy without causing damage. Knowing what parts to replace saves time and effort.
Safety is very important when working with electronics. Preparing with proper precautions keeps you safe and protects the toy.
Basic Repair Tools
- Small Phillips and flathead screwdrivers
- Plastic pry tools or spudgers
- Soldering iron with thin solder wire
- Multimeter to check electrical connections
- Tweezers for handling small parts
- Needle-nose pliers
- Clean cloth and rubbing alcohol for cleaning contacts
Replacement Batteries And Parts
- New batteries matching the toy’s specifications
- Battery holders or clips if damaged
- Replacement wires or connectors
- Small screws compatible with the toy
- Electronic components like resistors or capacitors (if needed)
Safety Precautions
- Work in a well-lit and ventilated area
- Remove batteries before starting any repair
- Use tools carefully to avoid electric shocks
- Wear safety glasses during soldering
- Avoid touching soldering iron tip
- Keep liquids away from electronic parts
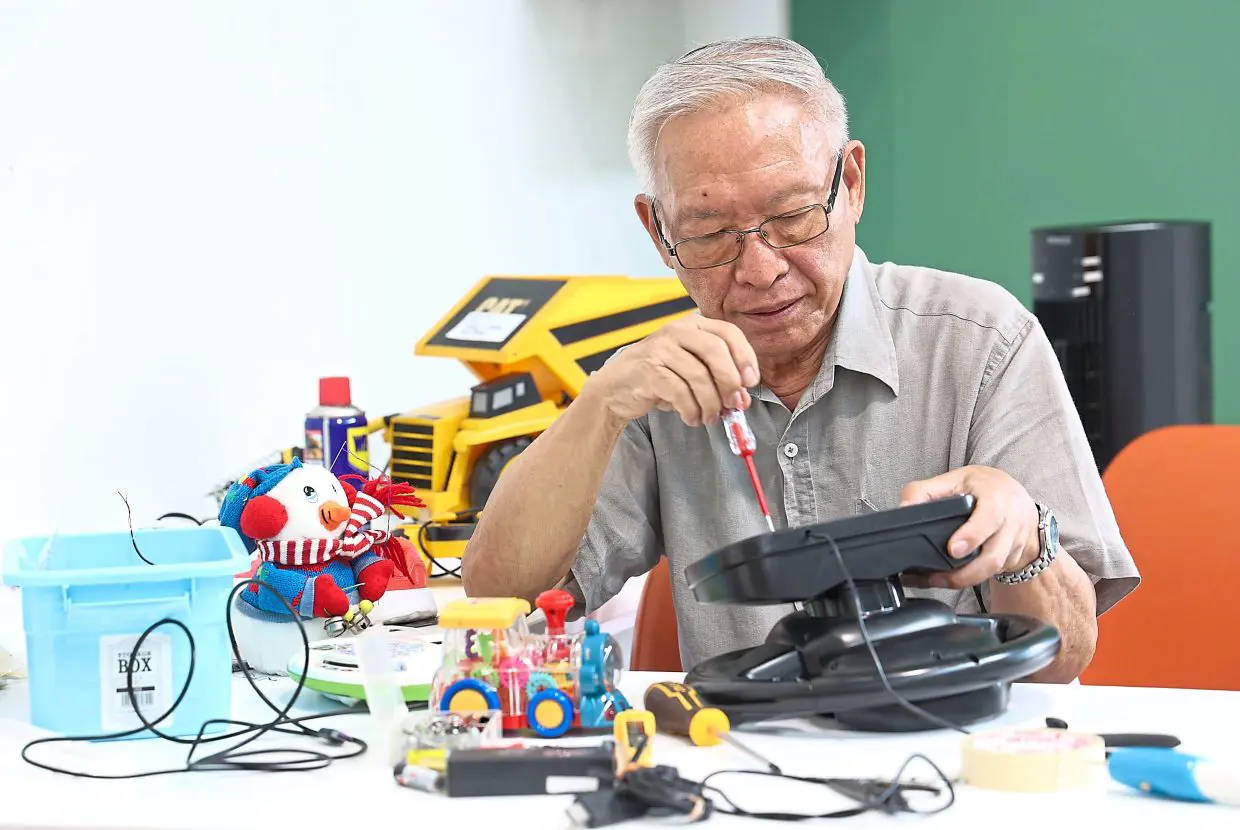
Step-by-step Repair Process
Repairing old battery-operated electronic toys can be a rewarding experience. It not only brings back cherished memories but also saves you money and reduces electronic waste. The process requires patience and attention to detail, but you’ll find it easier once you know the right steps to follow.
Opening The Toy Safely
Before you start, make sure you have the right tools, like small screwdrivers and plastic prying tools. Avoid using metal tools that can damage the toy’s casing or internal parts. Take your time to locate all screws and clips; some might be hidden under stickers or labels.
Once you open the toy, keep track of every screw and part you remove. Laying them out on a clean surface helps you remember their exact place. Have you ever struggled to put a toy back together because you lost a tiny screw? Organizing parts can prevent that frustration.
Cleaning Corroded Contacts
Corrosion is the most common issue with old battery-operated toys. It appears as white or green powdery deposits around the battery terminals. Use a cotton swab dipped in vinegar or lemon juice to gently clean the corrosion.
After applying the solution, scrub softly with a toothbrush or a small brush to remove residue. Wipe the area with a damp cloth and let it dry completely before inserting new batteries. This simple step often restores power and improves connectivity instantly.
Replacing Batteries And Components
Start by inserting fresh batteries of the correct type and size. Check the battery compartment for any damaged springs or connectors that may need replacement. If you notice broken wires or burnt components, you might have to solder new parts or replace circuit boards.
Testing the toy after each repair step helps you identify what still needs attention. Have you considered keeping a small repair kit handy with spare batteries, contacts, and tools? It makes fixing toys quicker and less frustrating.
Credit: www.thestar.com.my
Maintaining And Preventing Future Issues
Maintaining your old battery-operated electronic toys is key to making them last longer. Simple care can stop many common issues. Regular checks and smart habits protect batteries and circuits. This keeps the toy ready to play and saves you time and money.
Proper Battery Storage Tips
- Remove batteries if the toy won’t be used for months.
- Store batteries in a cool, dry place away from sunlight.
- Keep batteries in their original packaging or a battery case.
- Do not mix old and new batteries or different types.
- Check batteries for leaks before use and clean contacts gently.
Regular Maintenance Routine
- Inspect battery compartments for corrosion or dirt every month.
- Clean contacts with a cotton swab and a bit of vinegar or baking soda solution.
- Test batteries often to avoid unexpected power loss.
- Store toys in a dust-free area to prevent damage to circuits.
- Operate toys occasionally to keep internal parts functional.
When To Seek Professional Help
Look for expert help if the toy does not work after battery replacement.
Seek repair if corrosion is severe or inside parts are damaged.
A professional can fix wiring or replace hard-to-find parts safely.
Ask for help if you feel unsure about opening or fixing the toy yourself.

Credit: www.mltoys.com
Frequently Asked Questions
How Do I Test Batteries In Old Electronic Toys?
Use a multimeter to check battery voltage. Replace batteries if voltage is below recommended levels. Clean battery contacts to ensure good connection.
What Is The Best Way To Clean Battery Contacts?
Use a cotton swab dipped in vinegar or lemon juice. Gently rub contacts to remove corrosion. Dry thoroughly before reinserting batteries.
Can Rechargeable Batteries Work In Vintage Toys?
Yes, rechargeable batteries can work if they match the original size and voltage. Ensure proper charging to avoid damage.
How Do I Fix A Toy That Won’t Turn On?
Check battery orientation and contacts first. Replace old batteries with fresh ones. Inspect internal wiring for loose connections or corrosion.
Conclusion
Repairing old battery-operated toys brings them back to life. It saves money and keeps memories alive. Small steps like cleaning contacts and replacing batteries help. Always handle parts gently to avoid damage. Patience and care make the process easier. This simple repair can bring joy for years.
Try it yourself and enjoy the fun again.