
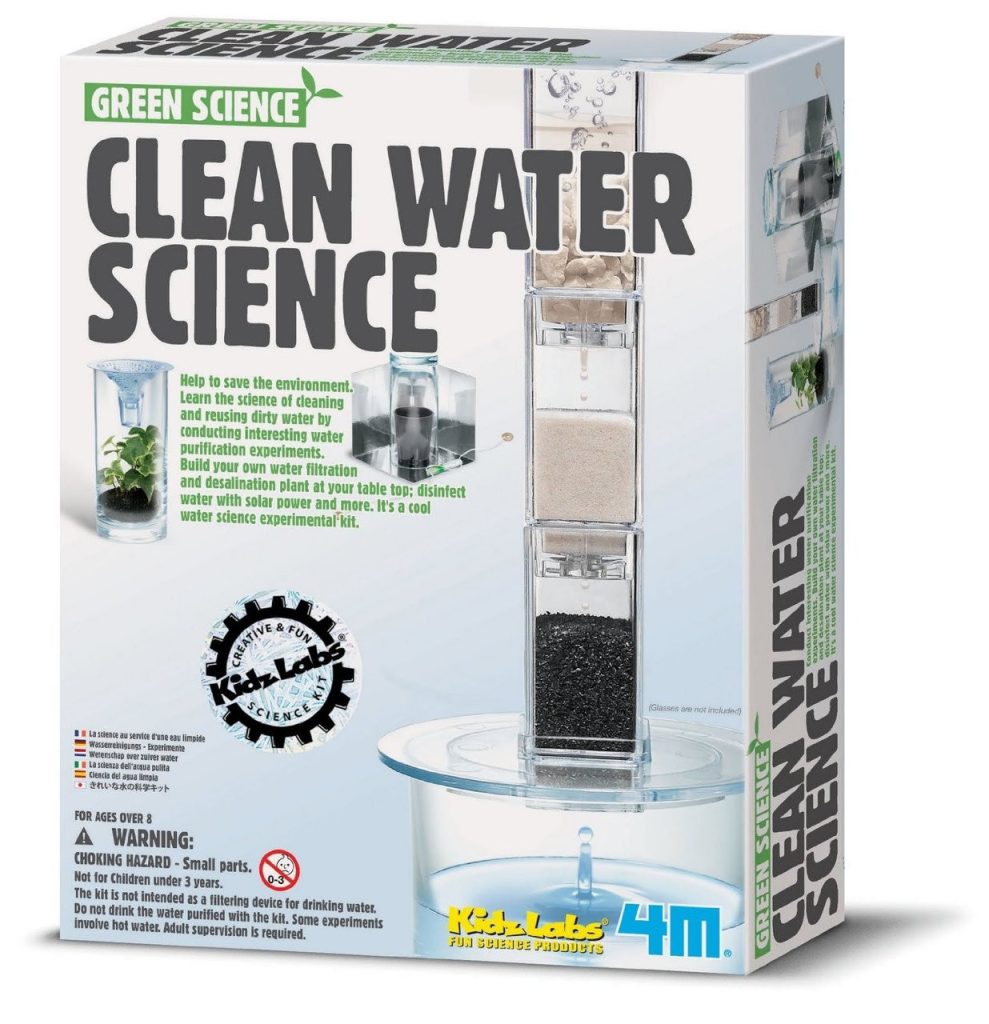
Are your little ones already diving into the world of science with their fun and colorful kits? That’s fantastic!
But as you know, keeping those science kits clean and safe for your curious 2-year-old can be a real challenge. You want to ensure that every experiment is not just exciting, but also hygienic and safe. If you’re wondering how to tackle the mess without losing your sanity, you’re in the right place.
In this guide, you’ll discover simple and effective ways to clean those science kits, ensuring your toddler’s playtime is both safe and enjoyable. Stick around, and you’ll find tips that might just save you time and keep those tiny hands busy with clean and ready-to-use science gear.
Safety First
Ensure the safety of little scientists by cleaning kits with mild soap and warm water. Rinse thoroughly to remove all residues. Dry each piece completely before storing to prevent mold and bacteria.
Cleaning science kits for 2-year-olds requires a keen focus on safety. These kits often include various small components that can pose risks if not handled properly. Ensuring a safe environment while cleaning them is crucial not just for the child’s health but also for preserving the kit’s integrity. Let’s dive into how you can make cleaning these kits both safe and effective.Check For Small Parts
Before you start cleaning, inspect the kit for small parts that could be a choking hazard. Make sure these parts are stored securely and out of reach of your little one. If you notice any damaged or broken pieces, consider removing or replacing them. A thorough check can prevent accidents.Use Child-friendly Cleaning Products
Not all cleaning products are safe for children. Opt for mild, non-toxic cleaners that are safe if accidentally ingested. You might use a simple mixture of water and vinegar or a gentle soap solution. Avoid harsh chemicals that could leave residue on the kit’s surfaces.Clean In A Well-ventilated Area
Proper ventilation is crucial when cleaning science kits. Open windows or clean in an airy space to ensure any fumes from cleaning products dissipate quickly. This minimizes the risk of inhalation by you or your child. Fresh air keeps the environment safe and pleasant.Focus On Hygiene
Children are naturally curious and may put kit parts in their mouths. Regular cleaning prevents the buildup of germs. Wipe down surfaces and components with a damp cloth. Regular maintenance ensures the kit remains a fun and safe learning tool.Store Safely After Cleaning
Once cleaned, store the kit in a safe location. Use a box or container with a lid to keep parts secure and organized. Labeling each container can help you quickly find pieces later and ensures everything is accounted for.Engage Your Child
Why not turn cleaning into a learning experience? Invite your child to help with safe tasks like sorting parts or wiping with a damp cloth. This can teach them responsibility and the importance of cleanliness. Plus, it’s a great way to bond while maintaining safety. Incorporating these steps into your routine can transform cleaning into a safe and enjoyable process. Have you ever thought about making cleaning a fun activity? What steps will you take to ensure your child’s safety while maintaining the integrity of their science kit?
Credit: www.walmart.com
Choosing Kid-friendly Cleaning Products
Choosing the right cleaning products is crucial for maintaining science kits for toddlers. These products should be safe, effective, and gentle on both the kits and the little hands that use them. With so many cleaning options available, selecting the right ones can ensure both cleanliness and safety.
Understanding Product Labels
Reading labels is essential to choosing safe cleaning products. Look for labels that indicate non-toxic ingredients. Products labeled as biodegradable or plant-based are often safer for children. These options reduce exposure to harsh chemicals.
Benefits Of Natural Ingredients
Natural ingredients offer a safer cleaning experience. They tend to be gentler on sensitive skin. Products made from citrus or vinegar are effective and safe. These ingredients provide a natural way to keep science kits clean.
Avoiding Harsh Chemicals
Harsh chemicals can be harmful to young children. Avoid products containing bleach or ammonia. These can irritate skin and eyes. Look for cleaning solutions that are free from dyes and fragrances. This reduces the risk of allergic reactions.
Choosing Hypoallergenic Options
Hypoallergenic products minimize irritation. They are designed to be gentle on the skin. This is crucial for toddlers who may have sensitive skin. Selecting hypoallergenic cleaning products ensures a safer cleaning process.
Testing Products On A Small Area
Test new cleaning products on a small area first. This ensures compatibility with the kit material. It also checks for any adverse reactions. Always do a patch test before cleaning the entire kit.
Step-by-step Cleaning Process
Cleaning science kits for toddlers involves careful steps. First, gather mild soap and warm water. Next, wipe each piece gently. Finally, rinse thoroughly and let air dry. This ensures safe, clean toys for your little explorer.
Cleaning science kits for 2-year-olds can sometimes feel like a daunting task. However, breaking it down into a simple step-by-step cleaning process can make it much more manageable. By following these easy steps, you can ensure that your child’s science kit remains safe and fun for their next learning adventure.1. Gather Your Cleaning Supplies
Before you start, collect all necessary supplies. You’ll need a mild soap, warm water, a soft cloth, and a gentle disinfectant. Keep everything within reach to make the process smooth and efficient.2. Disassemble The Kit
Carefully take apart the kit, separating all the components. This step helps you clean each piece thoroughly. Ensure you’re familiar with how to reassemble it later.3. Clean Non-electronic Parts
Use a soft cloth dipped in soapy water to wipe down the non-electronic parts. Be gentle to avoid scratching any surfaces. Rinse with a clean, damp cloth and dry immediately.4. Clean Electronic Parts With Care
For electronic components, use a dry cloth or a slightly damp cloth if necessary. Avoid getting any water into the electronic parts. If needed, use a cotton swab to clean tight spaces.5. Disinfect Safely
Apply a gentle disinfectant to non-electronic parts to eliminate germs. Be sure the disinfectant is safe for use around children. Allow parts to air dry completely before reassembling.6. Check For Wear And Tear
While cleaning, inspect the kit for any signs of wear or damage. Consider replacing parts that look too worn out. This ensures safety and extends the life of the kit.7. Reassemble The Kit
Once everything is dry, put the kit back together. Double-check that all pieces are securely attached. Try to remember any tricky parts from disassembly to avoid frustration.8. Store Properly
Store the clean kit in a dry, safe place. Consider labeling each part’s place in the box if your kit has many components. This way, your child can easily find and return pieces during play. Cleaning science kits can be a rewarding experience that ensures your child’s safety and prolongs the kit’s usability. Have you ever noticed how much more engaging a clean, well-maintained kit can be? It not only looks inviting but also encourages your child to explore and learn with enthusiasm.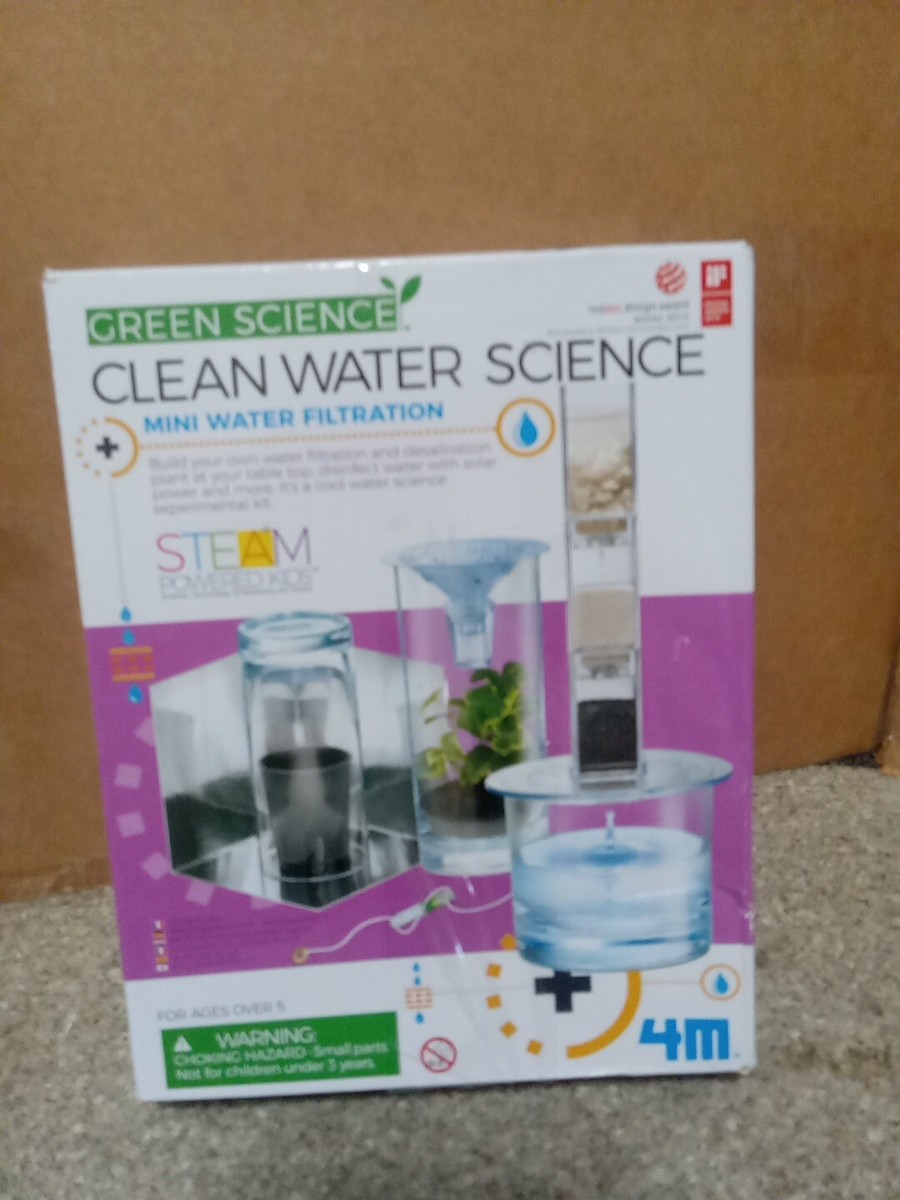
Credit: www.ebay.com
Maintaining Cleanliness For Future Use
Maintaining cleanliness for future use of science kits ensures longevity. It keeps them safe for young explorers. Cleaning science kits is essential to preserve their quality. Regular cleaning prevents the buildup of dirt and germs. It also maintains the functionality of the tools. Ensuring a clean kit means more fun and learning.
How To Start The Cleaning Process
Begin by gathering all kit items. Lay them out on a clean surface. Identify materials that need special care. Some items may require gentle handling. Ensure that you have the right cleaning supplies on hand.
Choosing The Right Cleaning Supplies
Use mild soap and water for most items. Avoid harsh chemicals. They can damage delicate parts. Soft cloths are ideal for wiping surfaces. A small brush can help with intricate pieces. Ensure all cleaning supplies are child-safe.
Cleaning Specific Materials
Plastic items can be wiped with a damp cloth. Use gentle strokes to avoid scratches. Wooden pieces need extra care. Use a slightly damp cloth. Dry them immediately to prevent warping. Inspect electronic components. They require careful cleaning with a dry cloth.
Drying And Storing The Kit
Let all items air dry completely. Moisture can lead to mold or damage. Store the kit in a cool, dry place. Use containers to keep items organized. Label them for easy access. This ensures everything is ready for future use.
Regular Maintenance Tips
Inspect kits regularly for wear and tear. Replace damaged parts promptly. Schedule regular cleaning sessions. This prevents dirt buildup over time. Encourage gentle handling by children. This reduces frequent cleaning needs.
Credit: pkporthcurno.com
Frequently Asked Questions
What Do Daycares Use To Sanitize Toys?
Daycares sanitize toys using child-safe disinfectants like bleach solutions or alcohol-based wipes. These methods effectively kill germs. Regular cleaning schedules ensure toys remain hygienic for children. Staff follow strict guidelines to maintain cleanliness. Proper ventilation further aids in keeping toys safe and sanitized for daily use.
Does Dawn Dish Soap Disinfect Toys?
Dawn dish soap cleans toys effectively but doesn’t disinfect them. For disinfection, use a bleach solution or other disinfectant. Always rinse toys thoroughly after cleaning to ensure safety for children.
How To Sanitize Second Hand Toys?
Clean toys with warm soapy water, then rinse thoroughly. Use a disinfectant spray or wipe suitable for children’s items. Ensure complete drying before use. For fabric toys, machine wash on a gentle cycle. Always check manufacturer’s cleaning instructions for specific guidelines.
Regular sanitization maintains hygiene and safety.
Can I Use Vinegar To Disinfect Baby Toys?
Yes, vinegar can disinfect baby toys. Mix equal parts water and white vinegar. Use a cloth to wipe the toys, then rinse with water. Avoid using vinegar on electronic toys. Always dry thoroughly before giving back to your baby.
Conclusion
Keeping science kits clean is vital for toddler safety. Follow these simple steps to ensure a hygienic play environment. Regular cleaning prevents germs and extends the kit’s lifespan. Use mild soap and warm water for washing. Rinse thoroughly to avoid any residue.
Dry each piece completely before storing. This routine fosters safe, fun learning for your child. Clean kits mean more enjoyable playtime. Encourage curiosity with well-maintained toys. Your toddler deserves a clean and healthy space to explore. Happy learning!