
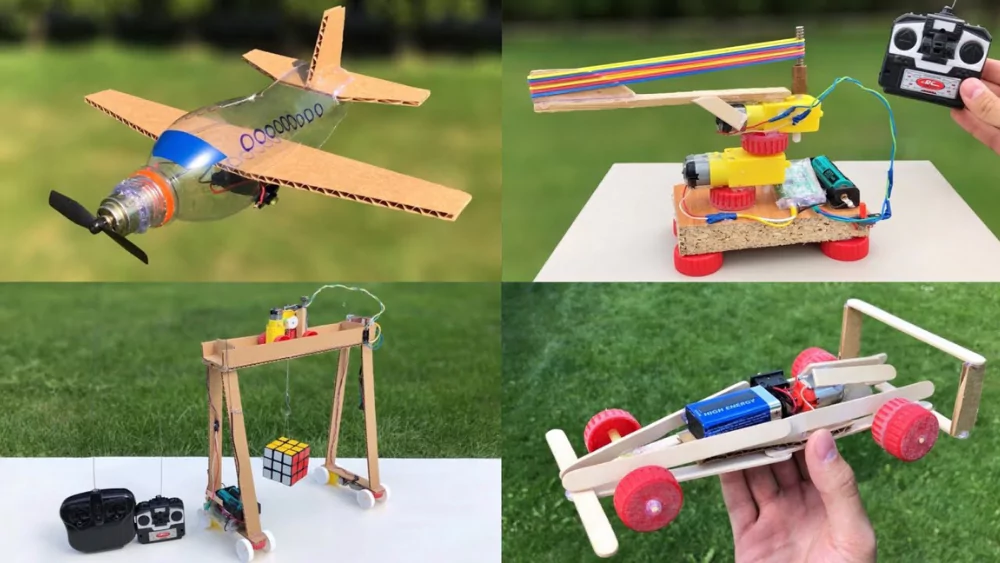
Are you ready to create something fun and exciting for your kids? Making electronic toys can be a rewarding way to spark their curiosity and creativity.
Imagine the joy on your child’s face when they play with a toy you built yourself! In this guide, you’ll discover simple steps and easy tips to make safe, entertaining electronic toys at home. Whether you’re a beginner or just looking for fresh ideas, this article will give you everything you need to bring your ideas to life.
Keep reading, and let’s start building those smiles together!

Credit: www.amazon.ae
Choosing Safe Materials
Choosing safe materials is the first step in making electronic toys for kids. Safety ensures kids can play without harm. Parents and makers must pick parts that protect children’s health. Selecting the right materials also helps toys last longer and work well.
Non-toxic Components
Use materials labeled non-toxic to avoid health risks. These parts do not contain harmful chemicals or poisons. Check for certifications like ASTM or EN71, which show the product meets safety rules. Avoid paints, plastics, or adhesives with lead or BPA. Non-toxic components keep kids safe even if they put toys in their mouths.
Age-appropriate Parts
Choose parts that match the child’s age and skill level. Small pieces are a choking hazard for young kids. Larger, sturdy components suit toddlers better. Electronic parts should not have sharp edges or points. Use insulated wires and low-voltage batteries to prevent shocks. Age-appropriate parts make toys safe and fun to use.

Credit: www.walmart.com
Basic Electronics For Beginners
Getting started with electronics might seem tricky, but understanding the basics opens up a world of creativity. When making electronic toys for kids, grasping simple concepts helps you build safe and fun projects. These basics give you the confidence to experiment and learn by doing.
Simple Circuits
A simple circuit is a closed loop that allows electricity to flow and power a device. Imagine it like a path for electric current to travel from a power source to a component, then back again. This loop must be complete; otherwise, the device won’t work.
Think about a flashlight. It has a battery, a bulb, and a switch. When the switch is turned on, the circuit closes, and the bulb lights up. You can create a similar setup on a small breadboard using wires, a battery, and an LED light.
Try building a circuit with an LED and a resistor. The resistor controls the flow of electricity, protecting the LED from burning out. Learning how to connect these parts correctly is your first step toward making toys that move, light up, or make sounds.
Using Batteries And Switches
Batteries are the heart of your electronic toys. They provide the power needed to run circuits without plugging into a wall outlet. Picking the right battery—like AA, AAA, or button cells—depends on your toy’s size and power needs.
Switches control when the circuit is active. Including a switch lets you turn your toy on and off easily, saving battery life. You can use simple toggle switches, push buttons, or even tilt switches that activate when moved.
Here’s a quick checklist to consider:
- Choose a battery suitable for your toy’s voltage and current requirements
- Use a switch that fits the toy’s design and ease of use for kids
- Ensure all connections are secure to avoid loose wires or shorts
Have you ever wondered how a small switch can control a whole circuit? Experimenting with batteries and switches helps you understand that power is only part of the story—control is just as important.
Step-by-step Toy Projects
Creating electronic toys for kids is a fun way to blend learning and play. With a few simple materials and clear guidance, you can bring exciting projects to life right at home. These step-by-step projects help you build engaging toys that light up and move, sparking curiosity and creativity.
Light-up Toys
Start with basic light-up toys to introduce circuits and electricity. Gather materials like LED lights, small batteries, resistors, and wires. You can build a glowing badge or a flashing heart that kids will love to wear.
Connect the LED to the battery using wires, making sure to add a resistor to protect the light. Test the circuit by closing the connection and watch the LED shine. Don’t forget to use electrical tape to cover exposed wires for safety.
Have you tried experimenting with different colored LEDs? Mixing colors or using blinking LEDs can make your toy even more exciting. It’s a simple way to show how electricity flows and powers devices.
Motorized Toys
Motorized toys add movement, making playtime more dynamic. You’ll need a small motor, a battery pack, switches, and some craft materials like cardboard or plastic for the body.
Attach the motor to your toy’s base and connect it to the battery through a switch. This setup lets you control when the motor runs. For example, you can make a toy car that moves forward by flipping the switch.
Think about how to transfer the motor’s rotation to the wheels or parts of your toy. Gears or rubber bands work great for this. Have you noticed how kids get excited seeing their creations come to life with just a simple motor?
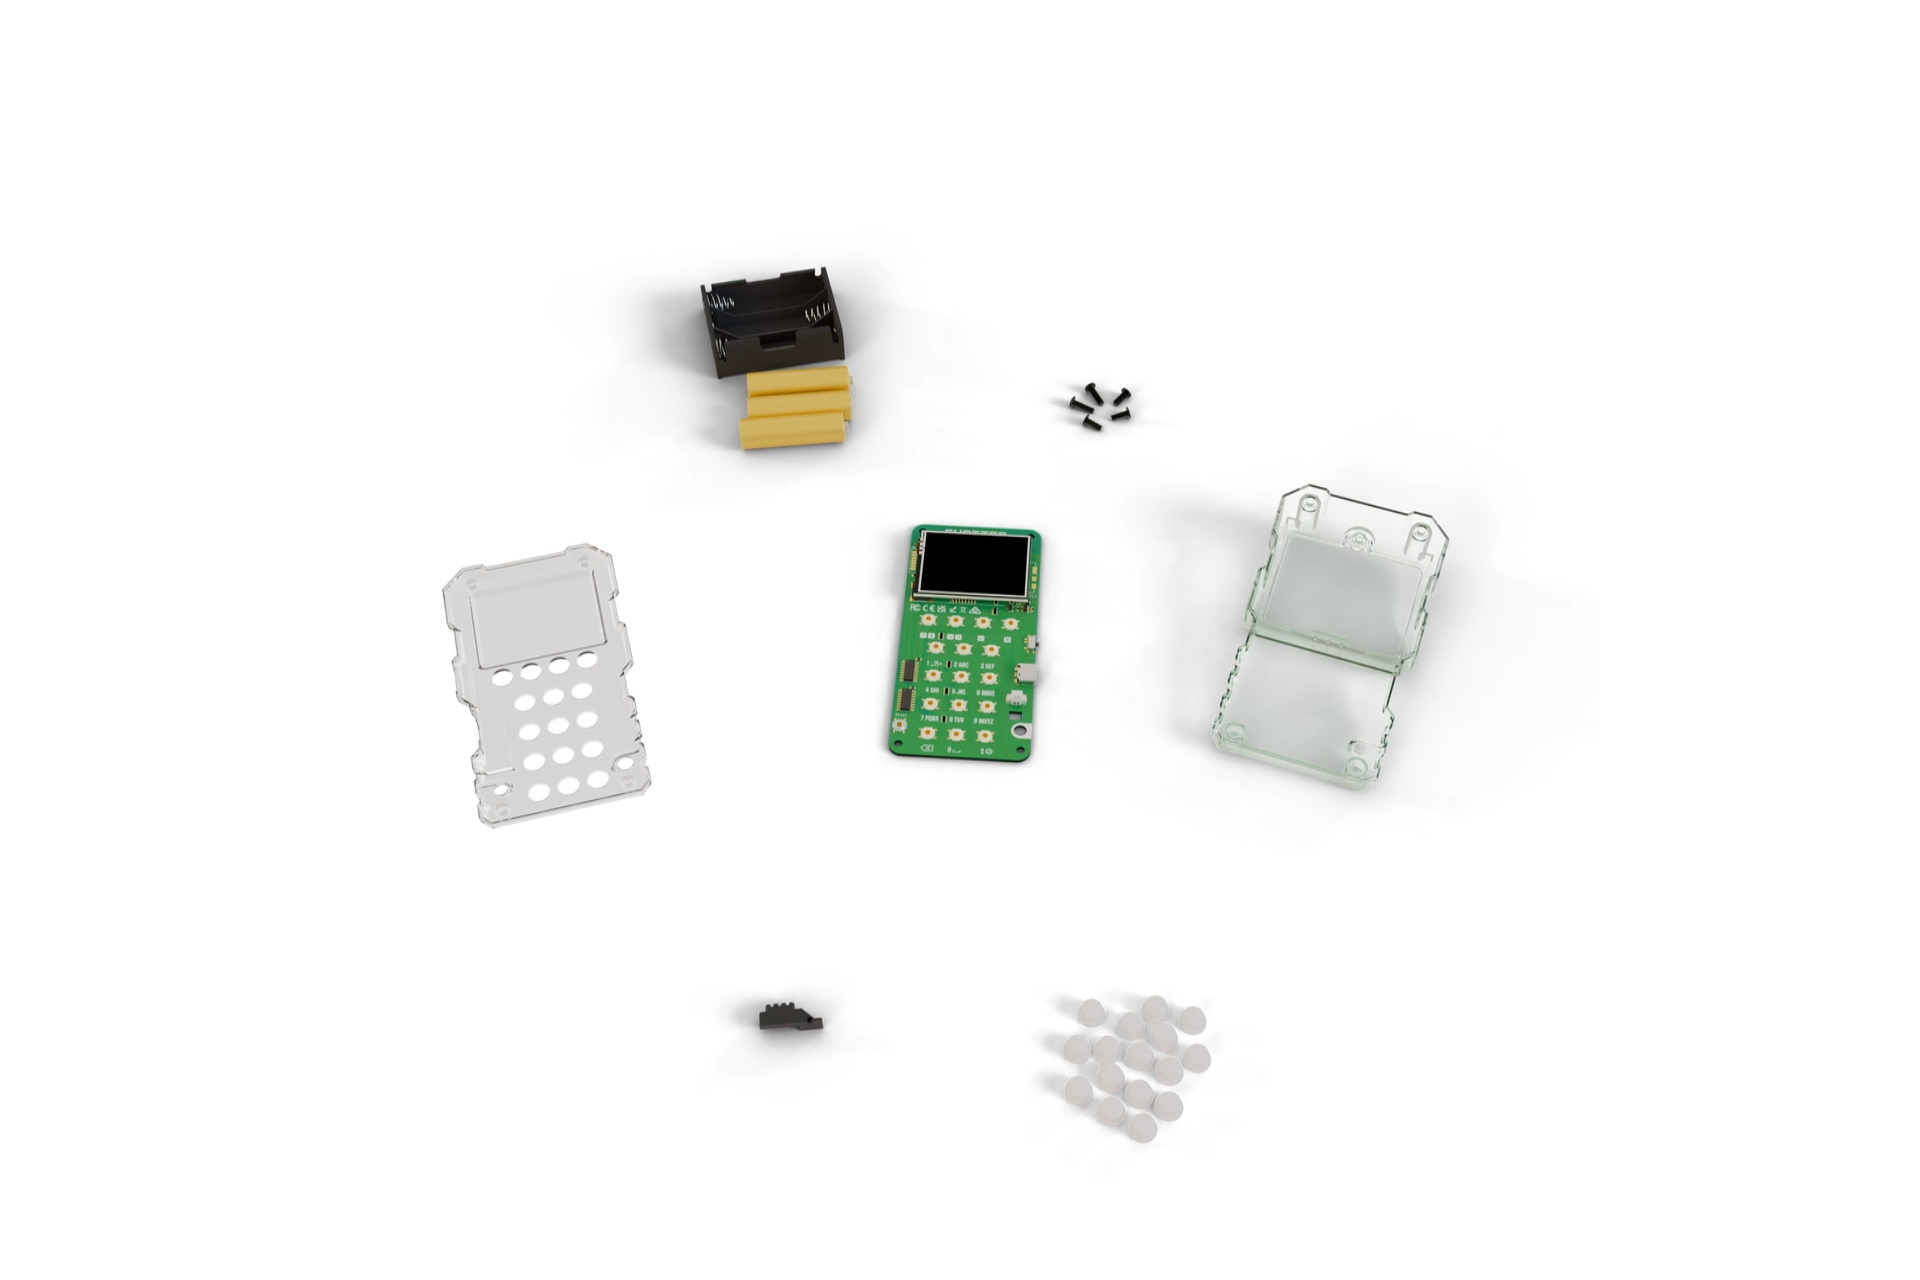
Credit: circuitmess.com
Tips For Customization
Customizing electronic toys makes them unique and fun for kids. It sparks creativity and keeps children engaged. Simple changes can bring big smiles and excitement. Personal touches turn toys into special keepsakes. Focus on colors, sounds, and designs to create a toy that feels personal and lively.
Adding Colors And Sounds
Colors catch children’s attention and make toys more playful. Use bright, cheerful paints or stickers for easy decorating. Choose non-toxic materials safe for kids. Lights add a magical touch. Small LED bulbs can brighten up your toy.
Sounds make toys interactive and lively. Add buttons that play tunes or funny noises. Use sound modules or record your own sounds. Adjust volume to keep it child-friendly. Simple buzzers or beepers also work well.
Personalizing Designs
Make each toy one of a kind with personal designs. Paint names or initials on the toy surface. Use stencils for clear and neat letters. Add stickers or decals with favorite characters or themes.
Shape parts differently to match kids’ interests. Create movable pieces or attach small accessories. Consider the child’s favorite colors and hobbies while designing. This makes the toy feel special and loved.
Frequently Asked Questions
What Materials Do I Need To Make Electronic Toys For Kids?
You need basic electronic components like batteries, LEDs, resistors, wires, and a small circuit board. Simple tools include a soldering iron, wire cutters, and a screwdriver. Using safe, child-friendly materials is essential to ensure the toy is safe and durable for kids.
How Can I Ensure The Toy Is Safe For Children?
Use non-toxic, sturdy materials and avoid small parts that pose choking hazards. Test all electrical connections to prevent short circuits. Always supervise children during play and follow safety standards for electronic toys to minimize risks.
What Are Easy Electronic Toys Beginners Can Make?
Start with simple projects like LED flashlights, buzzers, or basic circuit games. These toys teach fundamental electronics concepts and are safe for kids. Gradually, you can build more complex toys as skills improve.
How Do Electronic Toys Benefit Children’s Learning?
Electronic toys improve problem-solving skills, creativity, and hand-eye coordination. They introduce basic STEM concepts like circuits and electricity in a fun way. This hands-on learning boosts cognitive development and encourages curiosity.
Conclusion
Creating electronic toys for kids is a rewarding activity. You learn and have fun. Kids enjoy them and develop new skills. Start with basic projects. Gradually try more complex ones. Use safe materials and tools. Always prioritize safety for kids and yourself.
Explore new ideas and designs. Encourage kids to help and learn. This boosts creativity and understanding. Sharing your creations brings joy to others. Inspire others to create their own toys. Enjoy the process and the smiles it brings. Happy crafting!