

Imagine transforming your outdoor space into a magical holiday wonderland with charming toy soldier decorations standing guard. These classic figures evoke nostalgia and add a festive touch to your yard.
If you’ve ever admired these larger-than-life decorations and wondered how to bring them to life in your own garden, you’re in the right place. This guide will show you how to create your own big toy soldier outdoor decorations with ease.
You’ll discover step-by-step instructions, creative tips, and a few secrets to making them stand out. Get ready to unleash your inner artist and captivate your neighbors with your stunning holiday display. Keep reading to turn your outdoor space into a scene straight out of a storybook!
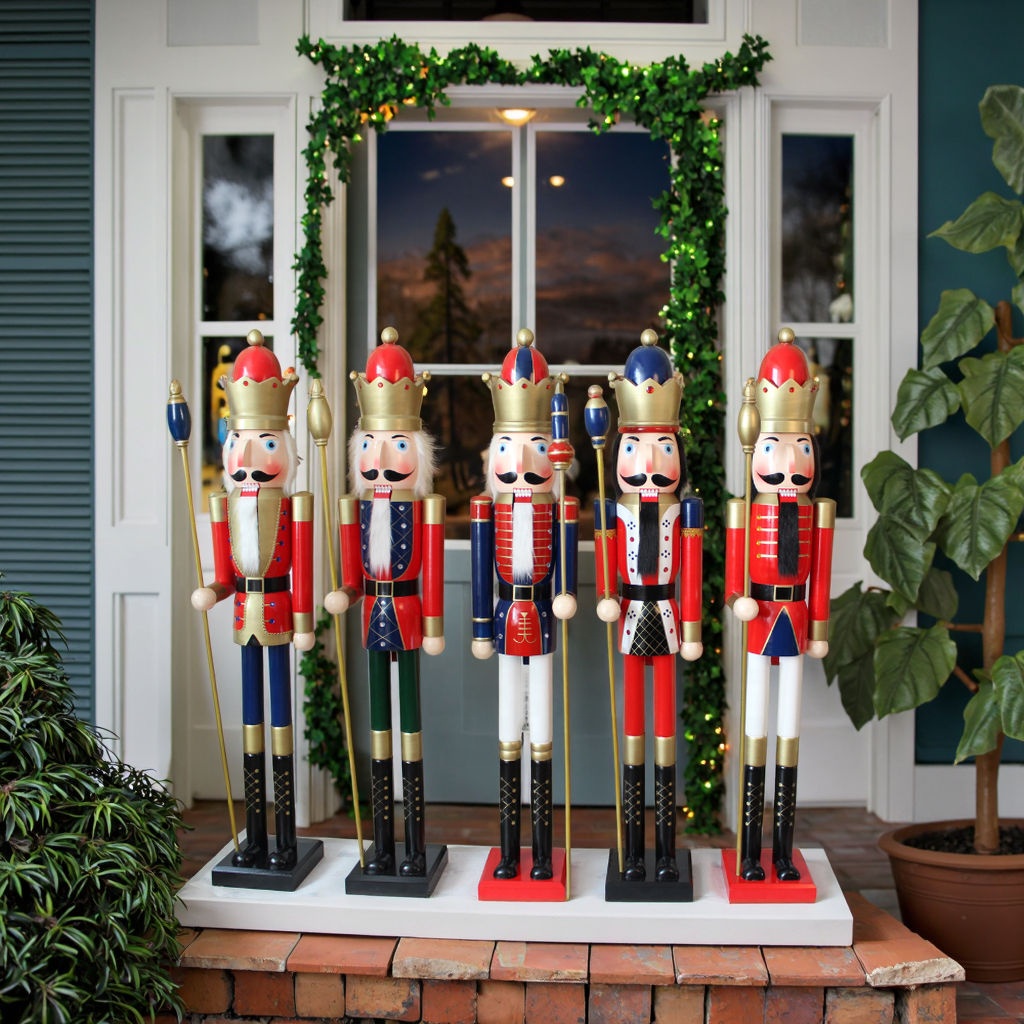
Credit: www.alibaba.com
Choosing The Right Materials
Choosing the right materials is key for making a big toy soldier outdoor decoration. Materials must stand up to weather and time. Picking strong and weatherproof supplies keeps your decoration looking great for years. The size also calls for sturdy materials that support weight and size without bending or breaking.
Durable Outdoor Options
Materials like treated wood, metal, and high-density plastic work well outside. Treated wood resists rot and insects. Metal, such as aluminum or steel, is strong and holds shape. High-density plastic is light and weatherproof. These materials handle sun, rain, and wind without damage. Avoid soft or untreated wood, thin plastics, or paper-based materials. These break down fast outdoors.
Paints And Finishes
Use outdoor paints designed for weather resistance. Acrylic or enamel paints protect against fading and peeling. Choose UV-resistant and waterproof formulas. Seal your decoration with a clear finish for extra protection. A good finish stops moisture from seeping into the materials. Paint and finish layers keep colors bright and the surface smooth.
Tools Needed
- Measuring tape for precise dimensions
- Power saw or handsaw for cutting materials
- Drill and screws to join parts securely
- Paintbrushes or spray paint for smooth coating
- Sandpaper to smooth edges and surfaces
- Protective gear like gloves and goggles
Having the right tools makes building easier and safer. Accurate cuts and secure assembly improve the decoration’s look and durability.

Credit: blog.christmasnightinc.com
Designing Your Toy Soldier
Designing your toy soldier is the first step to creating a large outdoor decoration. This phase sets the foundation for the entire project. Careful planning ensures the final figure looks impressive and balanced. Focus on size, shape, and details early on. This helps avoid costly mistakes later. A clear design plan guides the building process smoothly.
Scaling Up Proportions
Start by choosing the size of your toy soldier. Decide how tall and wide it will be. Keep proportions similar to a regular toy soldier but larger. Use simple math to enlarge each part equally. For example, if the original soldier is 6 inches tall, scaling it to 6 feet means multiplying all parts by 12. This keeps the figure balanced and realistic.
Sketching The Blueprint
Draw a basic outline of your big toy soldier. Use simple shapes like circles and rectangles. Mark the head, body, arms, and legs clearly. Include key features like the helmet and boots. Make several sketches to refine the look. Use graph paper to keep proportions accurate. A good blueprint acts as a visual guide during construction.
Adding Details
Details bring your toy soldier to life. Add facial features, buttons, and weapon shapes. Use clear, bold lines to keep details visible from a distance. Think about texture, such as fabric folds or metal shine. Keep details simple but effective. Avoid clutter that confuses the look. The right details make your soldier stand out in any outdoor space.
Building The Structure
Building the structure of your toy soldier outdoor decoration is a crucial step that defines its size and durability. The right approach to cutting, assembling, and reinforcing will help your project stand tall and last through seasons. Let’s dig into the practical details that make a big, sturdy toy soldier come to life.
Cutting And Assembling Parts
Start with precise measurements to ensure each piece fits perfectly. Use plywood or durable outdoor-grade materials for the main body parts. Cutting should be clean and accurate—rough edges can weaken the overall structure.
When assembling, dry-fit pieces first to check alignment. Use screws instead of nails for a tighter hold, especially on larger sections. Don’t rush this; the way parts come together affects the final look and stability.
Reinforcing For Stability
Think about where the stress points will be. Adding braces or cross supports behind the main panels can prevent wobbling. I once built a 5-foot-tall soldier, and without internal supports, it leaned dangerously after just a windy day.
Use metal brackets or wooden cleats at joints to strengthen connections. If your soldier will stand on uneven ground, consider mounting it on a heavy base or staking it into the soil. What kind of base will keep your decoration grounded through storms?
Weatherproofing Techniques
Protect your toy soldier against rain, sun, and temperature changes by sealing every surface. Apply outdoor-grade primer before painting to prevent moisture damage. I found that a couple of coats of polyurethane finish really extend the life of the wood.
Don’t forget to cover edges and joints well—these spots are most vulnerable. Using waterproof paint or sealant not only preserves the structure but keeps colors vibrant. How much extra effort are you willing to put in to ensure your soldier faces the elements with confidence?
Painting And Final Touches
Painting and adding final touches bring your toy soldier decoration to life. This stage gives color and character to the figure. Proper painting enhances its outdoor charm and appeal. Follow simple steps to make the toy soldier stand out beautifully.
Applying Base Colors
Start with clean, dry surfaces. Use outdoor acrylic paint for durability. Choose main colors based on the soldier’s uniform. Apply paint evenly with a brush or spray. Let each coat dry fully before adding another. This creates a smooth, solid base for details.
Detailing Features
Add fine details like buttons, badges, and facial features. Use small brushes for precision. Pick contrasting colors to highlight these parts. Details make the soldier look realistic and interesting. Take your time to avoid smudges and uneven lines.
Sealing For Longevity
Seal the painted soldier with a clear, weatherproof spray. This protects colors from rain, sun, and dirt. Apply several thin coats for best results. Allow drying time between coats. Sealing keeps your decoration bright and fresh all year.
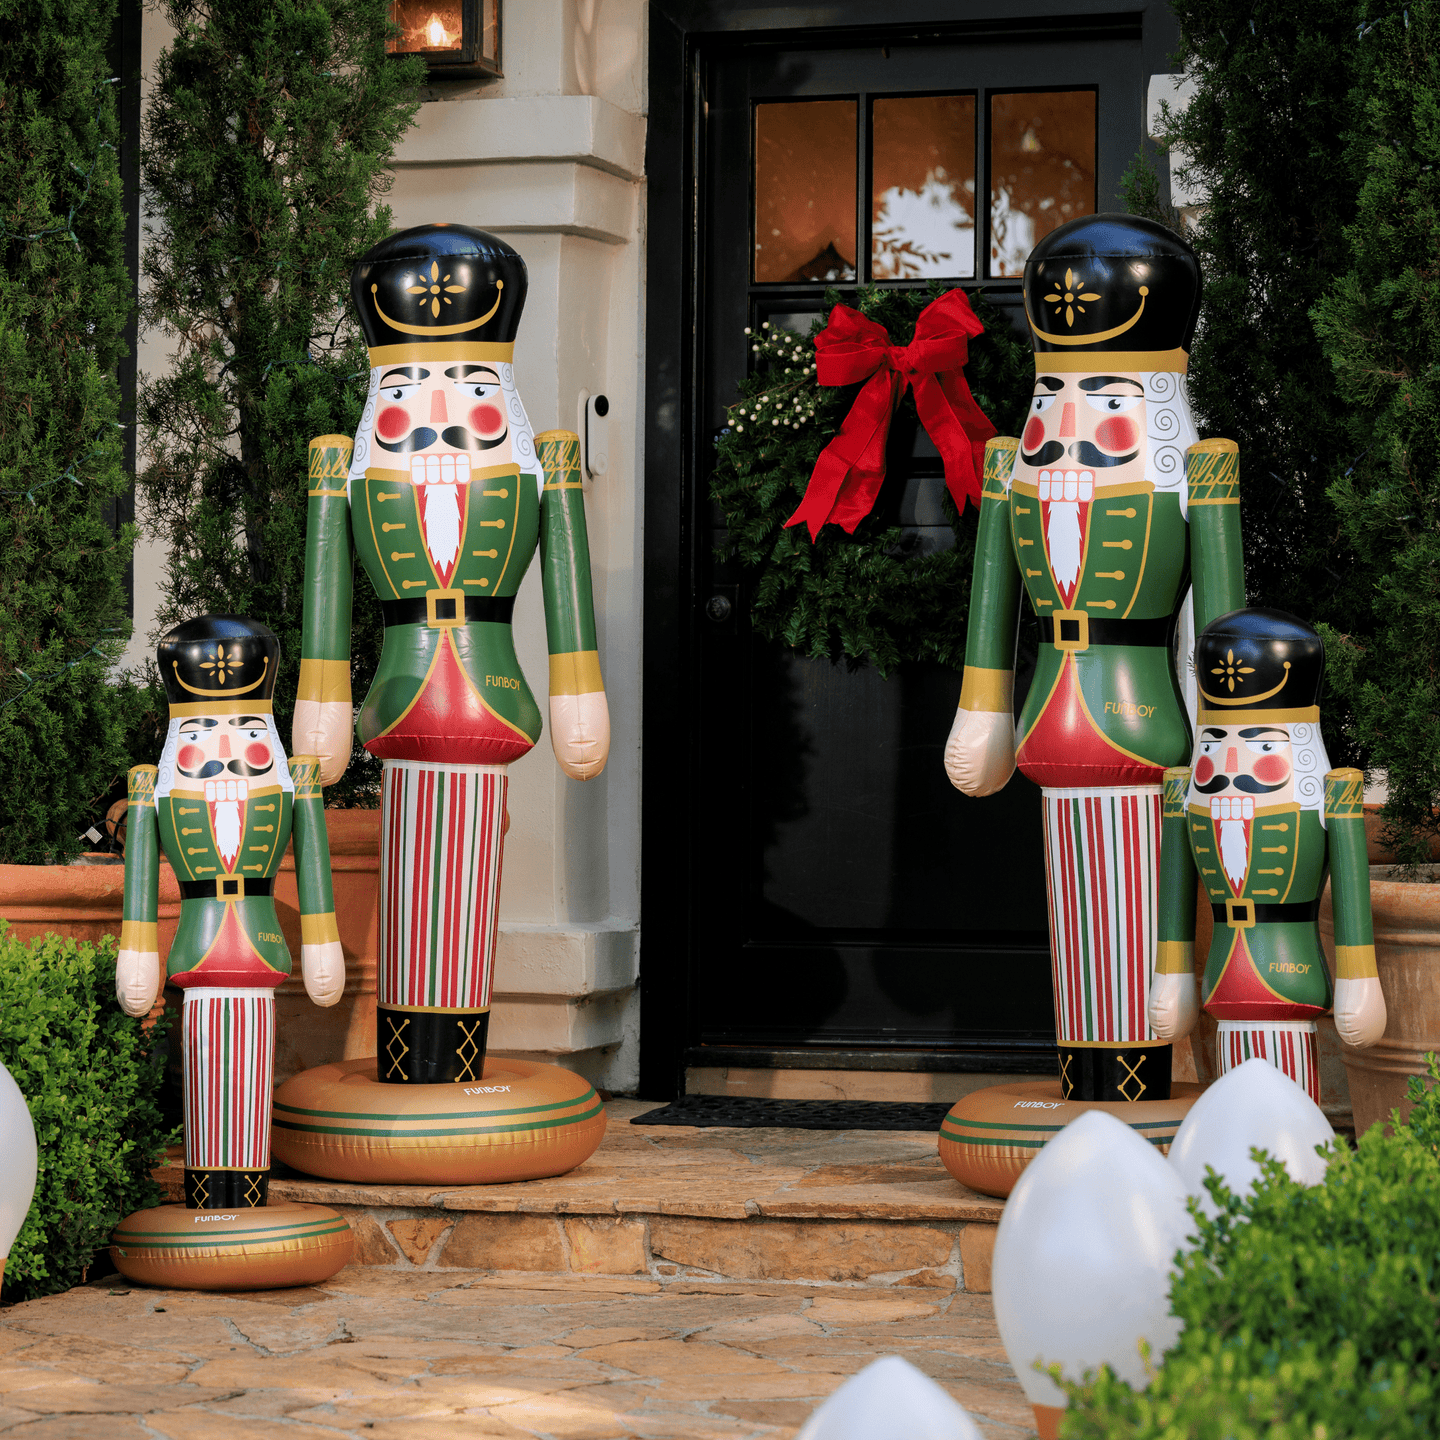
Credit: www.funboy.com
Frequently Asked Questions
How Do I Start Making A Big Toy Soldier Decoration?
Begin by choosing durable materials like wood or metal for the base. Sketch a large soldier design. Cut and assemble parts carefully. Use weatherproof paint for outdoor protection. Ensure stability with a sturdy frame and secure anchoring.
What Materials Work Best For Outdoor Toy Soldiers?
Use weather-resistant materials such as treated wood, metal, or heavy-duty plastic. These withstand rain, sun, and wind. Avoid materials that easily warp or fade. Choose paints labeled for outdoor use to maintain color and durability.
How Can I Make My Toy Soldier Decoration Stand Out?
Add bright, contrasting colors and fine details like buttons and badges. Use glossy or reflective paint for visibility. Incorporate LED lights for nighttime appeal. Position the decoration in a visible spot with good lighting.
How Do I Protect My Toy Soldier From Weather Damage?
Apply a waterproof sealant or outdoor varnish after painting. Regularly inspect for chips or cracks and touch up as needed. Place the decoration on a raised platform to avoid ground moisture. Cover it during extreme weather conditions.
Conclusion
Creating big toy soldier outdoor decorations is fun and simple. Use sturdy materials and bright paint for best results. Place them where they can stand out and catch attention. Regular care keeps them looking fresh and strong. Enjoy adding a playful touch to your garden or yard.
Try different sizes to make your display unique. Big toy soldiers bring charm and joy to any outdoor space. Start your project today and watch your decoration grow!