

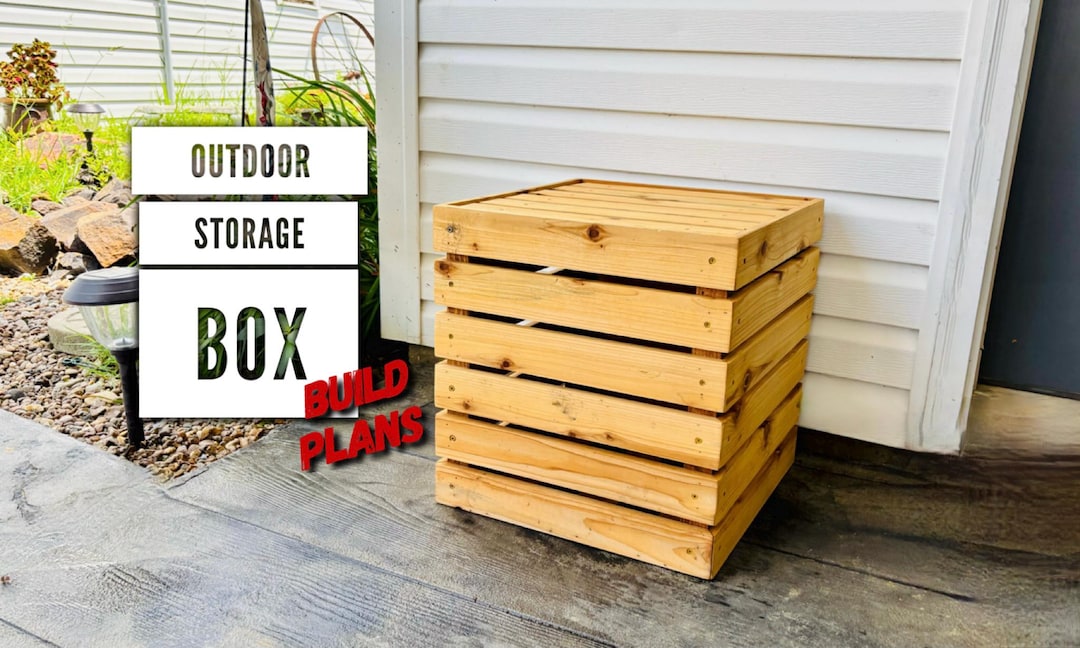
Are you tired of tripping over toys scattered all over your backyard? Do you dream of a tidy outdoor space where your children can play freely and safely?
Building an outdoor toy box might just be the solution you need. Not only does it help keep your yard organized, but it also ensures that your kids’ favorite toys are safely stored and easily accessible. Imagine a space where everything has its place, and playtime is more enjoyable for everyone.
In this guide, we’ll walk you through the simple steps to create your very own outdoor toy box. Get ready to transform your backyard into a neat and inviting play area that both you and your kids will love. Keep reading to discover how you can make this project a reality, adding both function and style to your outdoor space.

Credit: busytoddler.com
Choosing The Right Materials
Choosing the right materials for your outdoor toy box is crucial to ensure it lasts through all kinds of weather and daily use. The materials you select will affect not only its durability but also how much maintenance it requires. Let’s break down the best options to help you make a smart choice.
Wood Types For Durability
Wood is a popular choice because it’s sturdy and looks great outdoors. Cedar and redwood are excellent options since they naturally resist rot and insects. Pine is more affordable but needs extra protection like sealing or painting to last long.
Think about your local climate too. If your area gets a lot of rain or humidity, choose wood that can handle moisture well. Pressure-treated lumber is another option but ensure it’s safe for kids by checking for non-toxic treatments.
Weatherproof Finishes
Applying a weatherproof finish is a must to protect your wood toy box. Look for finishes labeled as waterproof or marine-grade for the best protection. These finishes prevent water damage and reduce the chance of splinters.
You can also use outdoor paint for a splash of color while sealing the wood. Remember to reapply the finish every year or two to keep your toy box in top shape. Have you ever seen a wooden piece peel or warp? Proper finishing stops that from happening.
Hardware Essentials
Don’t overlook the hardware when building your toy box. Stainless steel screws and hinges resist rust and last longer outside. Avoid regular steel hardware that can corrode and weaken your box over time.
Adding soft-close hinges or a safety lid support can protect little fingers from getting pinched. Think about how often you’ll open the box and choose hardware that feels sturdy and smooth. Your toy box should be as safe as it is durable.

Credit: www.ana-white.com
Designing Your Toy Box
Designing your outdoor toy box is where functionality meets creativity. This step sets the foundation for a storage solution that fits your space, keeps toys safe, and lasts through all kinds of weather. Think about what will make your toy box not just useful, but something you and your kids will appreciate every day.
Size And Capacity Planning
Start by estimating how many toys you need to store. Are you planning for just a few favorite items or a whole collection? Measure the space where the toy box will sit to make sure it fits comfortably without blocking pathways or play areas.
Consider the types of toys too. Bigger toys like ride-ons require more space, while small toys can be stored in bins inside the box. You can even add dividers or compartments to keep everything organized and easy to find.
Incorporating Safety Features
Safety should never be an afterthought. Choose materials that are smooth and free of splinters, and avoid sharp edges that could hurt little hands. Adding soft-close hinges or a lid support can prevent the box from slamming shut and causing injuries.
Think about locking mechanisms too. A simple latch can keep curious toddlers from accessing certain items without supervision. Also, make sure the toy box is sturdy enough so it won’t tip over if a child leans or climbs on it.
Ventilation And Drainage
Outdoor toy boxes need airflow to prevent mold and mildew from damp toys. Add small vents or gaps near the top to let air circulate without letting rain in. This keeps toys dry and fresh, even after a rainy day.
Drainage is equally important. Design the bottom with slight gaps or holes to allow water to escape if it sneaks inside. This simple feature can save you from dealing with soggy toys and a smelly box later on.
Step-by-step Construction
Building an outdoor toy box is a fun and practical project. It keeps toys organized and protects them from weather. Follow these clear steps to create a sturdy and attractive toy box. The process involves cutting wood, assembling the frame, and attaching the lid with hinges. Each step is simple and easy to follow.
Cutting And Preparing Wood
Start by selecting durable, weather-resistant wood like cedar or pine. Measure and mark all pieces carefully. Typical pieces include:
- Two side panels
- One bottom panel
- One back panel
- One front panel
- Two lid panels
Use a saw to cut each piece to size. Sand all edges smooth to avoid splinters. This step ensures safe and clean construction.
Assembling The Frame
Lay out the side, front, and back panels on a flat surface. Join them using wood screws or nails and wood glue. Confirm corners are square for a perfect fit. Attach the bottom panel securely to the frame. This creates the main structure of the toy box. Let glue dry before moving on.
Adding The Lid And Hinges
Attach the two lid panels together if needed. Position the lid on top of the frame. Use strong outdoor hinges to secure the lid to the back panel. Check that the lid opens and closes smoothly. Optionally, add a handle for easy lifting. This completes the toy box and makes it functional.
Finishing Touches
Finishing touches can make or break your outdoor toy box. They not only enhance its appearance but also protect it from the elements and daily wear. Paying close attention to these details will extend the life of your project and keep it looking great for years.
Sanding And Painting
Sanding smooths rough edges and removes splinters that could hurt little hands. Use medium-grit sandpaper first, then finish with fine-grit for a polished surface. Don’t rush this step—smooth wood holds paint better and looks more professional.
Choose a paint designed for outdoor use to resist fading and peeling. Bright colors can make the toy box more inviting and fun. Apply at least two coats, letting each dry completely before adding the next.
Sealing For Weather Protection
After painting, seal the toy box to guard against rain, sun, and humidity. A clear waterproof sealant preserves the paint and wood underneath. Look for a sealant that is non-toxic, especially since this box will be around children.
Apply the sealant evenly with a brush, covering all surfaces, including corners and undersides. This extra step can prevent warping and cracking. Have you considered how much time you want the toy box to last before needing repairs?
Maintenance Tips
Regular upkeep keeps your toy box safe and attractive. Inspect it every few months for chipped paint or areas where the sealant might be wearing off. A quick touch-up can save you from bigger repairs later.
Keep the box clean by wiping it down with a damp cloth to remove dirt and debris. During extreme weather, consider moving the box under cover or using a protective tarp. How often do you think you’ll check on your toy box’s condition?
Credit: www.etsy.com
Frequently Asked Questions
What Materials Are Best For An Outdoor Toy Box?
Use weather-resistant wood like cedar or redwood. These woods naturally resist decay and insects. Waterproof paint or sealant enhances durability. Avoid untreated softwoods as they may warp or rot outdoors.
How Do I Make My Outdoor Toy Box Weatherproof?
Apply a waterproof sealant or outdoor paint to all surfaces. Ensure the lid fits tightly to keep rain out. Add weatherstripping for extra protection. Regularly reapply sealant to maintain water resistance.
What Size Should An Outdoor Toy Box Be?
Choose a size based on the toys you need to store. A medium box (around 4 feet long) suits most backyards. Ensure it’s big enough to hold bulky items like balls and bikes. Avoid oversized boxes that clutter space.
Can I Build An Outdoor Toy Box With A Lid Lock?
Yes, adding a lid lock helps keep toys secure. Use a child-safe lock to prevent accidental trapping. Install sturdy hinges and a latch for easy opening. Locks also protect toys from theft and animals.
Conclusion
Building an outdoor toy box is a fun and useful project. It helps keep toys safe and organized outside. You only need some basic tools and materials. Follow the steps carefully, and take your time. The result will be a sturdy box that lasts long.
Kids will enjoy having a special place for their toys. Plus, your yard will look tidier and neat. Try this project to add both function and charm to your outdoor space. Enjoy the process and the final product!