
Have you ever looked at your child’s plastic doll toys and thought they could use a fresh, new look? Perhaps you want to personalize them or simply restore their original charm.
Whatever the reason, learning how to spray paint plastic doll toys can be a fun and rewarding project. Imagine the joy and surprise on your child’s face when they see their favorite toy transformed into something unique and special. In this guide, you’ll discover simple steps that make the process easy and enjoyable.
And who knows? By the end, you might find yourself eager to give more toys a colorful makeover. Let’s dive in and unleash your creative spirit!

Credit: www.youtube.com
Preparing The Doll Surface
Preparing the doll surface is a crucial step before you start spray painting. It sets the foundation for a smooth, long-lasting finish that won’t peel or chip easily. Taking time here saves frustration later and ensures your creative effort shines through.
Cleaning And Drying
Start by washing the doll thoroughly with warm water and mild soap. This removes dust, oils, and any factory residues that could prevent paint from sticking properly.
Use a soft brush or cloth to reach small crevices. Rinse well and let the doll dry completely—any moisture left can cause paint to bubble or run.
Sanding For Better Adhesion
Sanding might sound intense for a delicate doll, but it’s key to helping the paint grip the plastic surface. Use fine-grit sandpaper (around 400-600 grit) and lightly roughen the areas you plan to paint.
Don’t apply heavy pressure; a gentle touch is enough to create tiny scratches. These scratches act like anchors for the paint, preventing it from peeling off later.
Priming The Plastic
Priming is often overlooked but essential. A primer designed for plastic creates a smooth, uniform base and improves paint adhesion.
Choose a spray primer specifically labeled for plastic surfaces. Apply it in thin, even coats, allowing each layer to dry before adding the next.
Have you noticed how skipping primer often leads to patchy or uneven paint? Adding this step will save you from that hassle and give your doll a professional look.
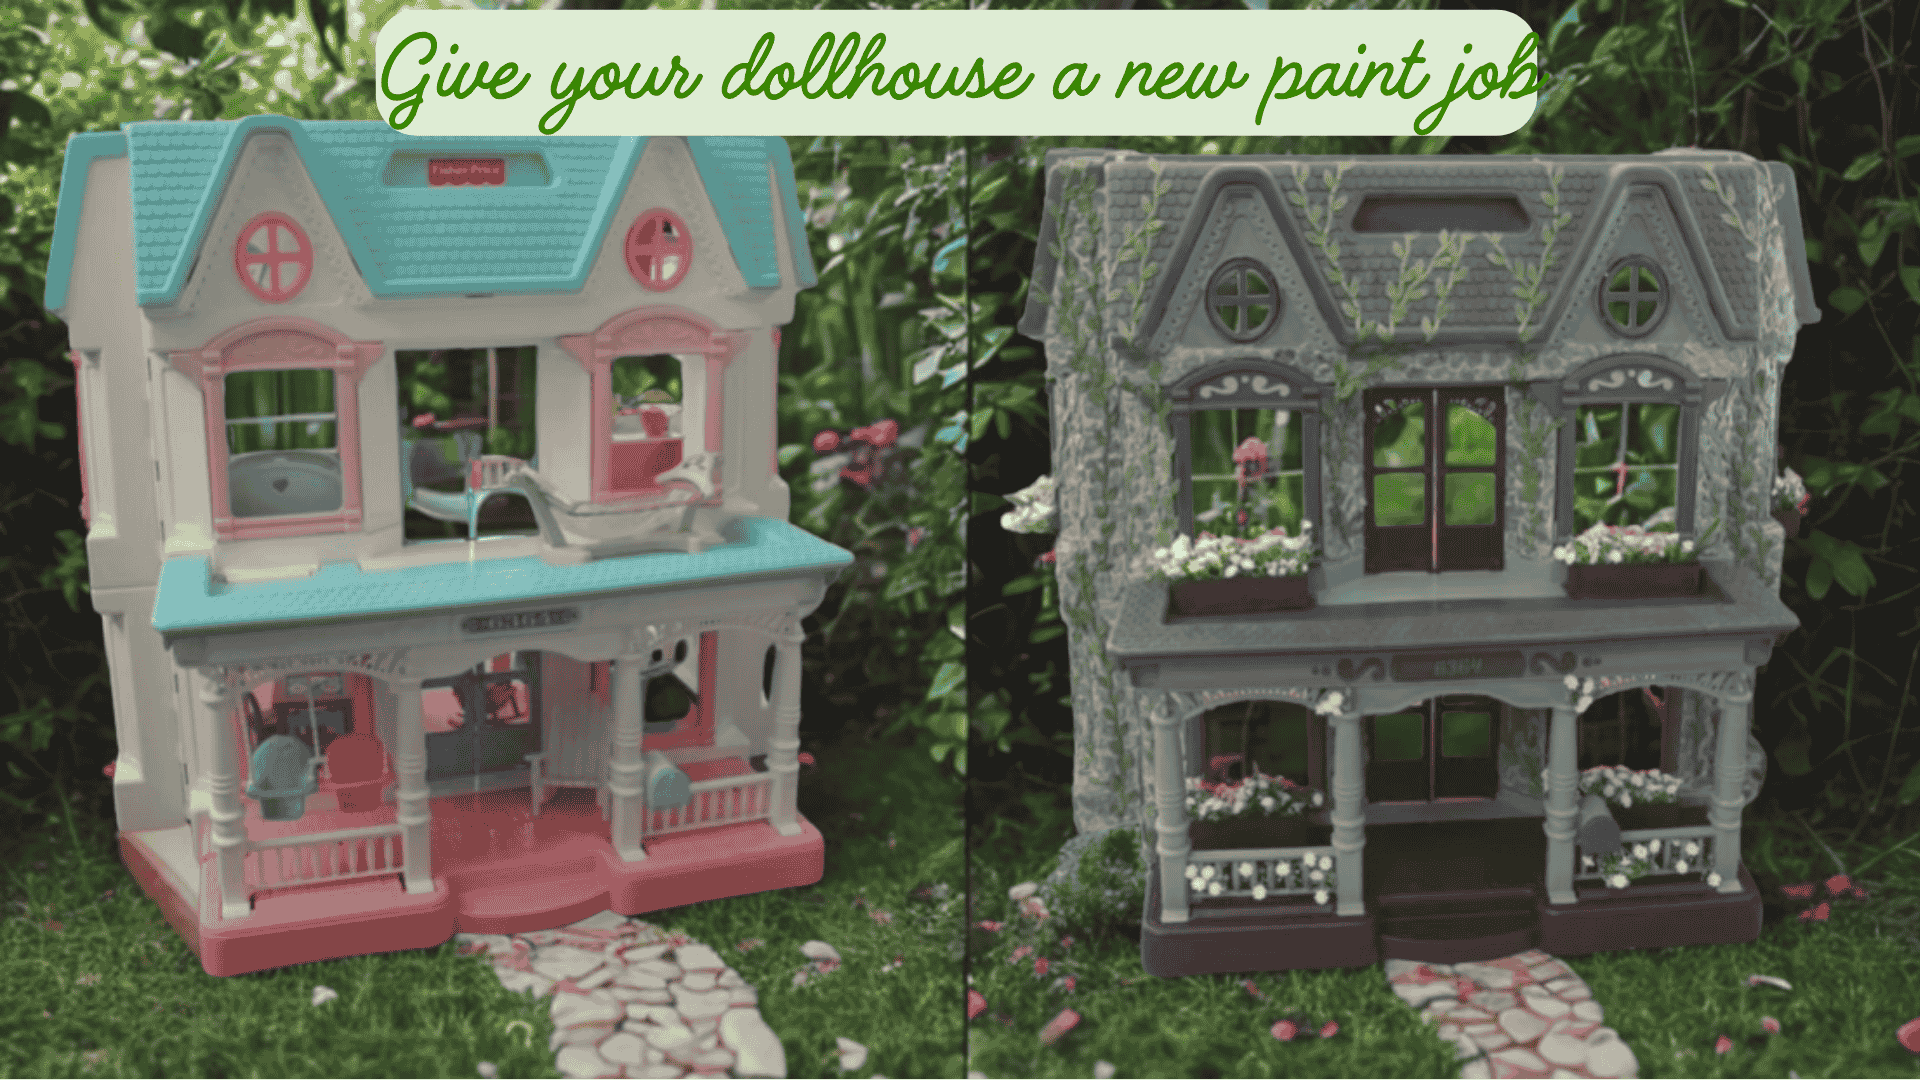
Credit: everythingverysmall.com
Choosing The Right Spray Paint
Choosing the right spray paint is key to a smooth finish on plastic doll toys. The paint must stick well and dry without damage. Picking the correct type and color ensures the toy looks great and lasts long.
Types Of Paint Suitable For Plastic
Not all spray paints work on plastic surfaces. Some paints chip or peel off easily. Use spray paints made for plastic or multi-surface use.
- Acrylic spray paint: Dries fast and resists cracking.
- Enamel spray paint: Offers strong coverage and durability.
- Chalk spray paint: Gives a matte, vintage look but may need sealing.
Check the label for “plastic” or “multi-surface” to ensure good adhesion.
Color Selection Tips
Pick colors that match the doll’s style and theme. Bright colors work well for playful toys. Neutral tones suit vintage or realistic dolls.
- Use lighter colors for base coats.
- Darker shades add depth and details.
- Test colors on a small area before full painting.
Safety And Ventilation
Spray paint releases fumes that can be harmful. Always paint in a well-ventilated area. Outdoors is best, but a room with open windows works too.
- Wear a mask to avoid inhaling fumes.
- Use gloves to protect your skin.
- Keep away from flames or sparks.
Spray Painting Techniques
Spray painting plastic doll toys requires careful technique to achieve smooth, even coverage. Using the right approach helps prevent drips and uneven color. It also ensures the paint sticks well and lasts longer. The following tips focus on setting up your workspace, applying paint, and managing drying times.
Setting Up Your Workspace
Choose a well-ventilated area to spray paint. Lay down newspapers or a plastic sheet to protect surfaces. Use a flat, stable table to place your doll toys. Keep a fan nearby to help circulate air. Wear a mask to avoid inhaling fumes. Organize all materials before starting to avoid interruptions.
Applying Even Coats
Shake the spray paint can for at least one minute. Hold the can about 6 to 8 inches from the toy. Spray in smooth, steady motions from side to side. Avoid spraying too close to prevent drips. Apply thin layers instead of one thick coat. Let each layer dry briefly to avoid paint build-up.
Drying Times Between Coats
Allow the paint to dry for 10 to 15 minutes between coats. Check the paint’s label for exact drying times. Touch the surface gently to see if it feels dry. Avoid rushing or applying the next coat too soon. Proper drying helps prevent smudges and uneven texture. Repeat this process until you achieve full coverage.
Finishing Touches
After you’ve sprayed your plastic doll toys with paint, the finishing touches are crucial to make your work last and look professional. These final steps protect your paint job and help maintain the doll’s charm over time. Paying attention here can turn a good project into a stunning one.
Sealing The Paint
Sealing your paint is the best way to protect it from scratches, fading, and peeling. Use a clear acrylic spray sealer designed for plastic surfaces. Apply light, even coats and let each layer dry completely before adding the next.
Try to avoid sealers with a glossy finish if you want a natural look; matte or satin finishes often look more authentic. Also, test the sealer on a small hidden area first to ensure it doesn’t react badly with your paint.
Touch-ups And Corrections
Even the most careful painting can have tiny mistakes or spots you missed. Keep a small brush and matching paint handy for quick touch-ups. Dab gently and let the paint dry before deciding if another coat is needed.
If you notice smudges or uneven spots, lightly sanding with fine-grit sandpaper can smooth the surface before repainting. Have you ever had to fix a tiny flaw that made the whole doll look better? That attention to detail really pays off.
Caring For Painted Dolls
Once painted and sealed, your dolls still need gentle care to keep their new look. Avoid exposing them to direct sunlight for long periods, as UV rays can fade paint despite sealing. Store them in a dust-free environment or display case.
Clean your dolls with a soft, dry cloth instead of water or chemicals that might damage the paint. How often you handle your dolls also affects their longevity—consider gloves or clean hands to reduce oils and dirt.
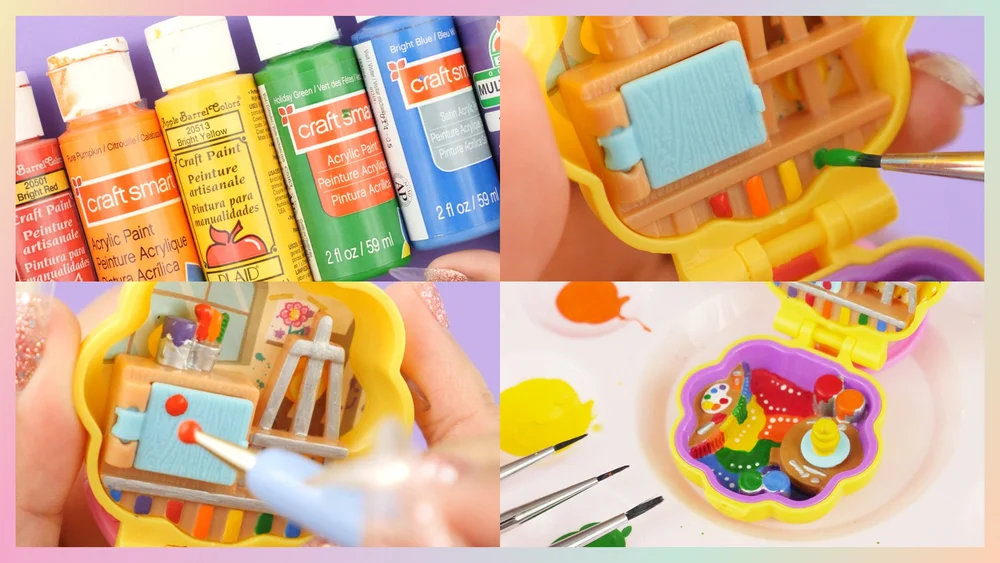
Credit: www.kerchie.com
Frequently Asked Questions
How Do I Prepare Plastic Dolls For Spray Painting?
Clean the doll thoroughly using mild soap and water. Remove dirt and oils to ensure paint adhesion. Lightly sand the surface with fine-grit sandpaper for better grip. Let the doll dry completely before painting.
Which Spray Paint Is Best For Plastic Doll Toys?
Choose spray paint labeled specifically for plastic surfaces. Acrylic-based or enamel spray paints work well. They provide smooth coverage and durability. Always check the paint’s compatibility with plastic before use.
How Many Coats Of Spray Paint Should I Apply?
Apply 2 to 3 thin, even coats for best results. Allow each coat to dry completely before adding the next. Thin layers prevent drips and ensure a smooth finish on the doll.
Can I Use A Clear Sealant After Spray Painting?
Yes, use a clear acrylic sealer to protect the paint. It enhances durability and prevents chipping. Apply the sealant in light, even coats once the paint is fully dry.
Conclusion
Spray painting plastic doll toys can be simple and fun. Prepare the surface well for better paint grip. Use light, even coats to avoid drips and runs. Let each layer dry completely before adding another. Work in a well-ventilated area to stay safe.
Take your time and enjoy the process. A fresh paint job can bring new life to old toys. With patience, your dolls will look colorful and neat. Try different colors and designs to make them unique. Keep practicing, and your skills will improve quickly.