

Are you looking to add a touch of whimsy and charm to your outdoor space? Imagine transforming your garden or front porch with the classic appeal of toy soldier decorations.
These playful figures not only bring a sense of nostalgia but also create a festive atmosphere, perfect for any season. In this guide, you’ll discover how easy it is to craft your very own toy soldier outdoor decorations using lywood.
With just a few materials and some creativity, you can design eye-catching pieces that will surely impress your neighbors and delight your guests. Dive into this step-by-step tutorial, and soon, you’ll have a stunning display that captures the magic and joy of childhood.
Materials Needed
Creating a toy soldier decoration for your outdoor space requires specific materials. Choosing the right items ensures your project looks great and lasts long. Gather everything before starting to avoid interruptions. This section covers the wood choice, tools, and extra supplies needed for crafting a sturdy toy soldier.
Choosing The Right Wood
Pick wood that resists weather damage. Cedar and redwood are good options. They handle rain and sun well. Pine is affordable but needs sealing. Avoid soft woods that break easily. Look for smooth boards without cracks or knots.
Essential Tools
- Saw – for cutting wood into shapes
- Sandpaper – to smooth rough edges
- Hammer and nails – to join parts
- Paintbrushes – for applying color
- Measuring tape – to get correct sizes
- Pencil – to mark cutting lines
Additional Supplies
- Outdoor paint – protects and decorates wood
- Wood glue – adds extra strength
- Clear sealant – shields from moisture
- Protective gloves – keeps hands safe
- Safety glasses – guards eyes from dust
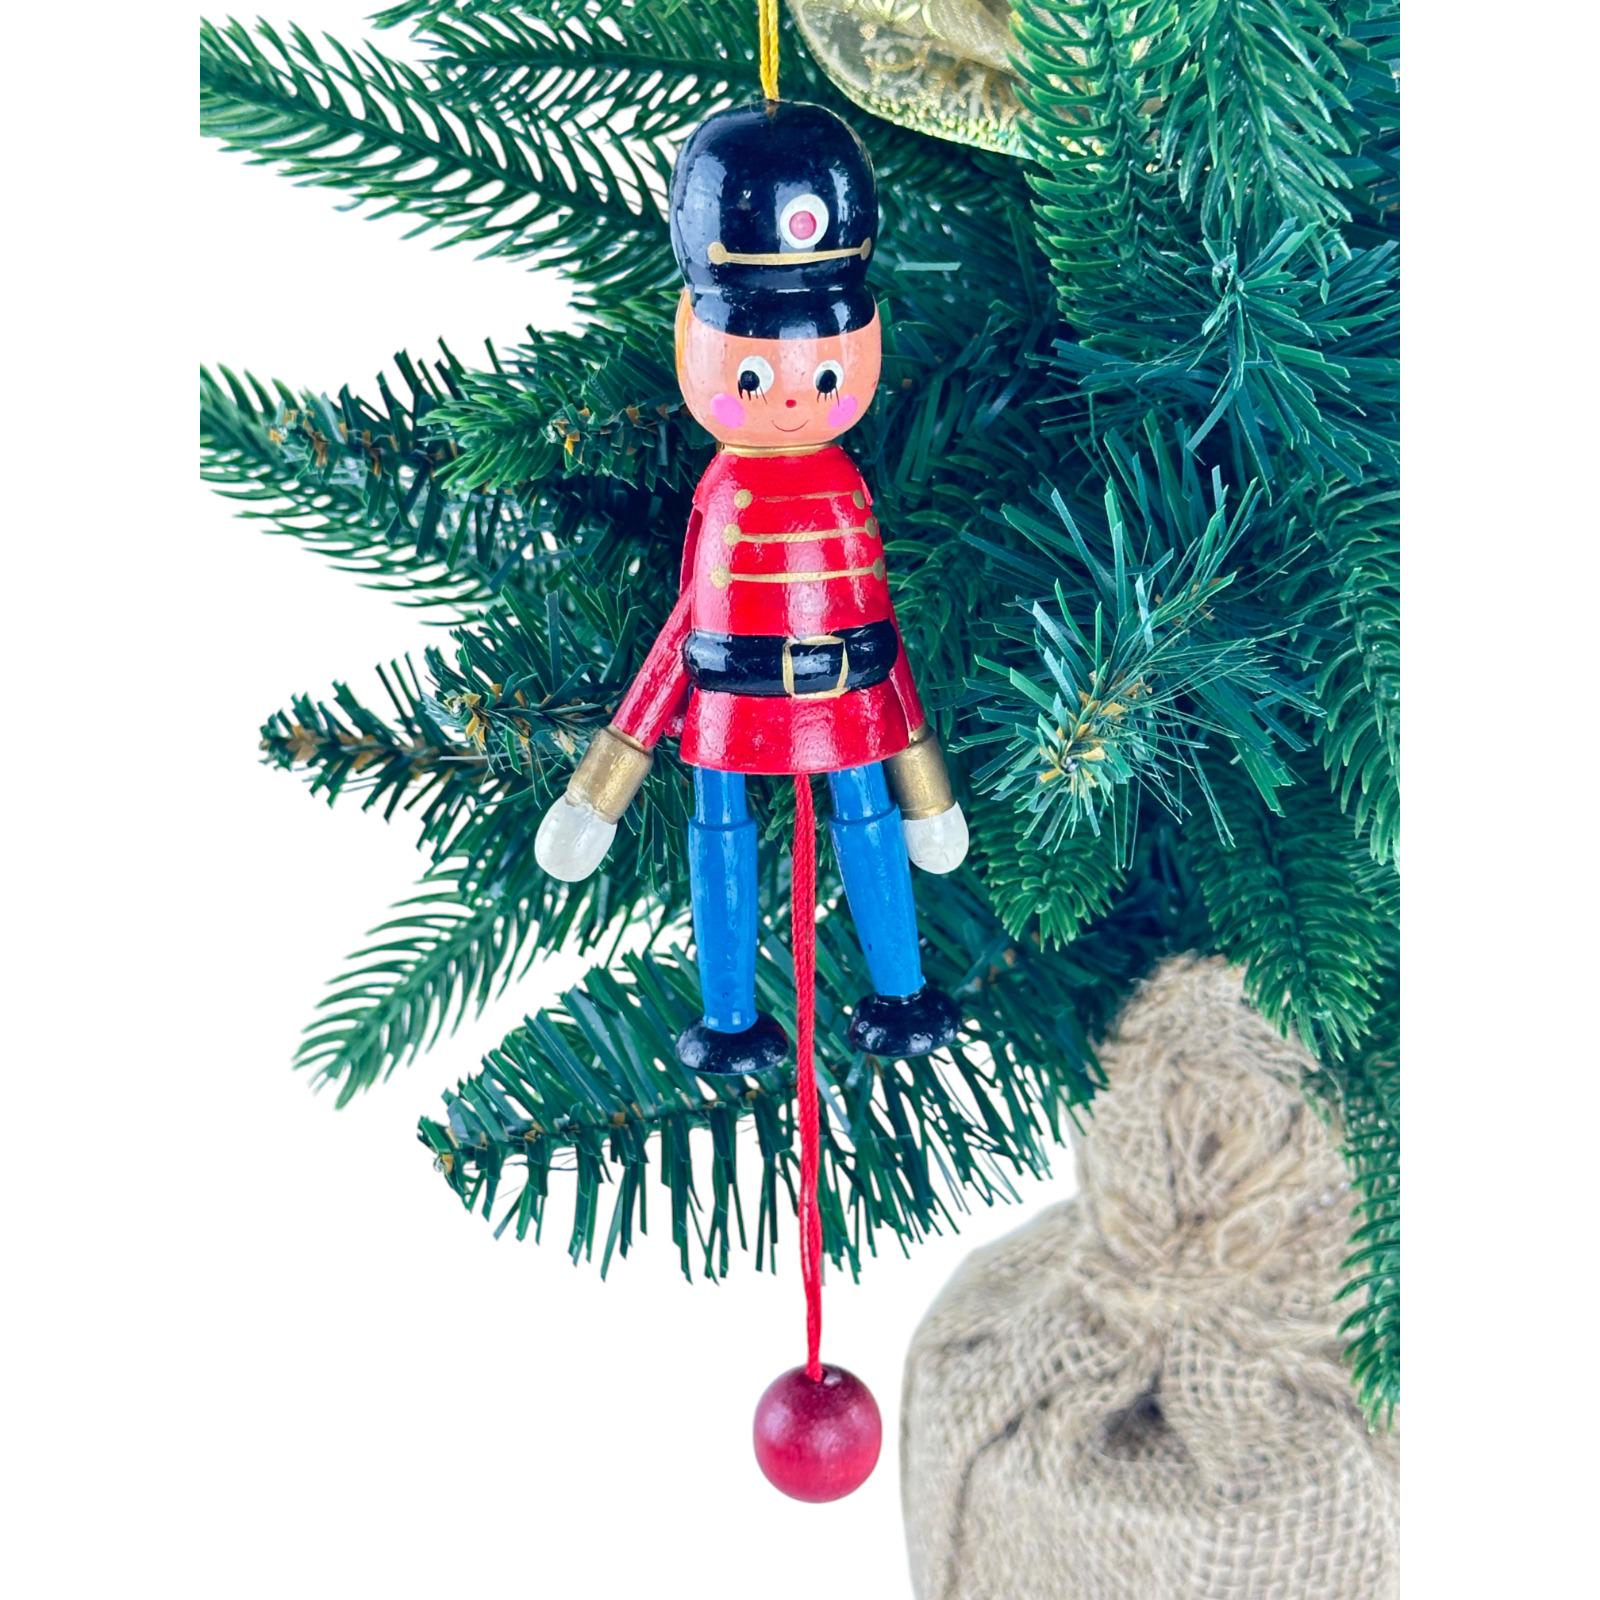
Credit: www.etsy.com
Cutting And Shaping
Cutting and shaping your toy soldier decoration out of plywood is where your design starts to take real form. This stage requires precision and care, as the quality of your cuts directly affects the final look and durability of your piece. Getting comfortable with the tools and techniques will help you create clean lines and smooth curves that bring your toy soldier to life.
Marking The Design
Begin by transferring your toy soldier design onto the plywood. Use a pencil and ruler or stencil to outline every detail clearly. Take your time here—faint or uneven marks can lead to mistakes during cutting.
Try using carbon paper for an easy transfer if your design is complex. Clear, bold markings help you stay on track and reduce the need for corrections later.
Using A Jigsaw Safely
The jigsaw is your best friend for cutting plywood into detailed shapes. Before you start, make sure your blade is sharp and suitable for wood. A dull blade can cause splintering and rough edges.
Always clamp your plywood to a sturdy surface to prevent movement. Hold the jigsaw firmly and guide it slowly along your lines—rushing can lead to slips and uneven cuts.
Remember to wear safety goggles and keep your fingers away from the blade. Have you ever tried cutting freehand? It’s tempting but rarely produces clean results.
Sanding For Smooth Edges
After cutting, your toy soldier’s edges will likely be rough or jagged. Use medium-grit sandpaper to smooth out these imperfections gently. Take your time around curves and corners to maintain the shape.
Follow up with fine-grit sandpaper for a polished finish. Running your hand along the edges can help you spot any areas needing more attention.
Sanding not only improves appearance but also prevents splinters—important if your decoration will be handled or placed where kids play.
Painting And Detailing
Painting and detailing bring your toy soldier decoration to life. These steps add color, character, and charm. Proper paint choice and decorative touches make the soldier stand out. Weather protection keeps the design fresh and vibrant for longer. Follow these tips for the best results on your Lywood creation.
Selecting Outdoor Paints
Choose paints made for outdoor use. These paints resist fading and peeling. Acrylic latex paints work well on wood surfaces. Look for UV protection to keep colors bright. Pick colors that match your design vision. Use a primer first for smooth, lasting coverage.
Adding Decorative Features
Details give your soldier personality. Paint the face with simple features like eyes and a smile. Add buttons, badges, or stripes with a fine brush. Use stencils for neat shapes and patterns. Small touches like a painted belt or boots create realism. Let each layer dry before adding more details.
Sealing For Weather Protection
Seal the paint to guard against rain and sun. Use a clear outdoor sealer or varnish. Apply thin, even coats for best results. A satin or matte finish looks natural. Reapply the sealer every year to maintain protection. This step prevents wood damage and paint chipping.
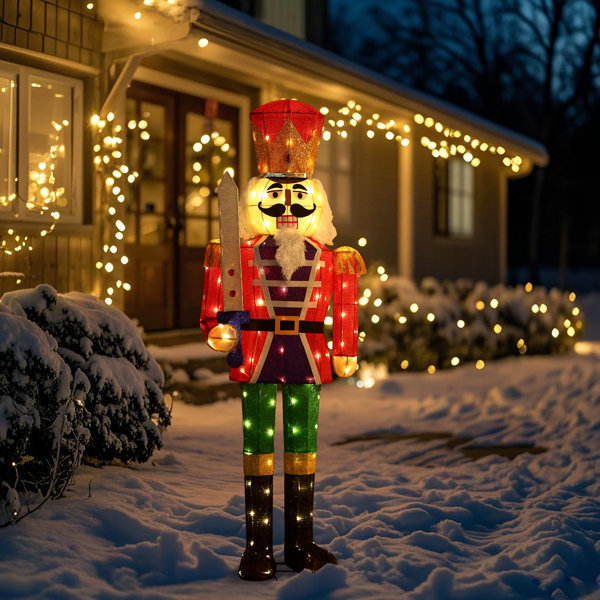
Credit: www.wayfair.com
Installation Tips
Installing your Toy Soldier outdoor decoration requires care and attention. Proper installation ensures it stays safe and looks great for a long time. Follow these tips for a smooth setup and lasting display.
Choosing The Right Location
Select a spot that is visible and suits your yard’s style. Avoid areas with heavy foot traffic to prevent damage. Make sure the ground is flat and stable for better balance. Consider sunlight exposure to reduce fading from UV rays.
Securing The Decoration
Use sturdy stakes or anchors to fix the toy soldier firmly to the ground. Check that all parts fit tightly and won’t wobble in the wind. For added safety, tie thin ropes or wires discreetly to nearby trees or posts. Secure installation prevents tipping and keeps your decoration safe.
Maintenance For Longevity
Clean your toy soldier regularly with a soft cloth and mild soap. Avoid harsh chemicals that can damage paint or material. Inspect the decoration for cracks or loose parts every few weeks. Cover it or bring it indoors during harsh weather to extend its life.

Credit: area78aa.org
Frequently Asked Questions
How Do I Start Making A Toy Soldier Outdoor Decoration?
Begin by gathering quality plywood, paint, and basic woodworking tools. Draw your soldier design on the plywood before cutting it out carefully.
What Type Of Wood Is Best For Outdoor Toy Soldiers?
Use exterior-grade plywood or cedar wood for durability. These materials resist moisture and outdoor weather conditions well.
How Can I Protect The Toy Soldier From Weather Damage?
Apply a waterproof sealant or outdoor varnish after painting. This protects the wood and paint from rain and sun exposure.
What Paint Should I Use For Outdoor Toy Soldiers?
Choose outdoor acrylic or enamel paint. These paints are weather-resistant and maintain color vibrancy over time.
Conclusion
Creating a toy soldier outdoor decoration from Lywood is fun and simple. You can add charm to your garden or yard with this unique piece. Use basic tools and materials to bring your idea to life. Enjoy the process and make it your own.
This project adds personality and a playful touch to any space. Try it today and see how it changes your outdoor area. A small effort brings big smiles.