

Imagine watching your child’s face light up as they grasp a beautifully crafted wooden toy, their curiosity piqued and their imagination ignited. Wooden toys are not just timeless; they are a gateway to learning and creativity.
But what if you could create these educational treasures yourself? Not only would you be making something durable and sustainable, but you’d also be crafting a personalized learning experience for your little one. In this guide, you’ll discover the joy and simplicity of making your own educational wooden toys.
We’ll walk you through each step, ensuring that your creations are not only safe but also tailored to nurture your child’s development. You don’t need to be an expert carpenter or have a workshop full of tools. With some basic materials and a little creativity, you can turn simple pieces of wood into engaging learning tools that captivate and educate. Ready to dive in? Let’s transform your home into a haven of handmade education and fun!
Choosing The Right Wood
Choosing the right wood is the foundation for making educational wooden toys that are safe, durable, and enjoyable for children. The type of wood you select affects not only the toy’s appearance but also its safety and longevity. Understanding the best options helps you create toys that parents will trust and kids will love.
Safe Wood Types
Safety is the top priority when making toys. Some woods contain natural oils or toxins that could harm children. Opt for woods known for being non-toxic and gentle on skin.
- Maple:Hard and smooth, maple is great for toys that need durability and a fine finish.
- Beech:Beech is dense and easy to sand, making it perfect for detailed pieces.
- Birch:Light-colored and sturdy, birch is a favorite for educational toys because it holds paint well.
- Alder:Soft and easy to work with, alder is safe and comfortable for little hands.
Woods like pine or cedar might smell nice but can sometimes cause allergic reactions. Always check for untreated, chemical-free wood to avoid exposing children to harmful substances.
Tools For Cutting
The right tools make a huge difference in your toy-making process. Sharp, precise tools help you create smooth edges and safe surfaces that children won’t get splinters from.
- Hand Saw:Ideal for beginners, it gives control over cuts and is quiet to use.
- Jigsaw:Perfect for cutting curves and shapes, making toys visually interesting.
- Scroll Saw:Offers high precision for intricate designs and small details.
- Sandpaper or Electric Sander:Essential for smoothing edges and surfaces to protect little fingers.
Have you ever struggled with rough edges on a toy? Choosing the right tool and finishing it properly can eliminate that problem completely. Your effort here turns a simple wooden block into a beloved plaything.
Credit: www.copperfieldsbooks.com
Designing Simple Toy Shapes
Designing simple toy shapes is a crucial step in making educational wooden toys. The shapes you choose can spark curiosity and support learning while keeping the child’s safety and creativity in mind. Simple shapes are easier to cut and sand, making the process more enjoyable and efficient for you.
Basic Patterns
Start with basic shapes like circles, squares, triangles, and rectangles. These forms are easy to recognize and handle, especially for younger children. You can also add simple animals or vehicles, such as a fish, car, or house, which provide familiar visuals without being too complex.
Try sketching patterns on paper before transferring them to wood. This helps you visualize the size and proportions better. Ask yourself: Will a child be able to hold and manipulate this shape comfortably?
Incorporating Educational Elements
Add learning opportunities directly into the shapes. For example, cut out shapes that fit together like puzzles to teach spatial awareness. You can also paint or engrave numbers, letters, or simple words onto the toys to encourage early literacy and numeracy skills.
Think about how each shape can teach something new. Can it introduce colors or textures? Will it help develop fine motor skills or problem-solving? Using these questions can guide your design to make toys that are not only fun but truly educational.
Assembling And Finishing
Assembling and finishing educational wooden toys is where your project truly takes shape. This phase requires careful attention to detail to ensure the toy is safe, durable, and visually appealing. It’s not just about putting pieces together; it’s about creating a smooth, child-friendly surface and a finish that lasts.
Sanding And Smoothing
Every edge and surface should be sanded thoroughly to avoid splinters. Start with medium-grit sandpaper to remove roughness, then move to fine-grit for a silky finish. I’ve learned that patience here pays off—rushing sanding leads to rough spots that kids will notice immediately.
Use a sanding block or sponge to keep pressure even and follow the grain of the wood. Don’t forget small corners and inside curves, which often get overlooked but are just as important for safety. After sanding, wipe the toy with a damp cloth to remove dust before moving on.
Non-toxic Paints And Finishes
Choosing the right paint or finish is critical for children’s toys. Always select non-toxic, water-based paints and finishes certified safe for kids. These products ensure your toy is free from harmful chemicals and gentle on little hands.
Apply thin, even coats and let each layer dry completely before adding another. This prevents peeling and keeps colors vibrant. I once used a finish that wasn’t child-safe, and it not only smelled bad but also made me question the safety of the toy. Don’t make the same mistake—prioritize health over convenience.
Consider finishes that also protect the wood from moisture and wear, extending the toy’s lifespan. What finish will you choose to balance safety, durability, and appearance for your wooden toy?

Credit: www.youtube.com
Safety Tips For Kids’ Toys
Safety is the top priority when making wooden toys for children. These toys should be fun and help learning without any risk. Careful attention to safety protects kids from choking hazards and injuries. Simple steps can make your toys safe for play and long-lasting.
Avoiding Small Parts
Small parts can cause choking or swallowing accidents. Use larger wooden pieces that are easy to hold. Avoid tiny decorations like beads or buttons. Check that all pieces are firmly attached and cannot break off easily. Smooth edges prevent splinters and cuts. Test toys by trying to fit parts into small openings, like a choke tube, to ensure safety.
Regular Maintenance
Wooden toys need regular checks to stay safe. Look for cracks, splinters, or loose parts often. Sand rough areas to avoid splinters. Tighten any screws or fasteners that may loosen. Clean toys with mild soap and water, then dry completely. Store toys in a dry place to prevent wood damage. Well-maintained toys last longer and keep children safe.
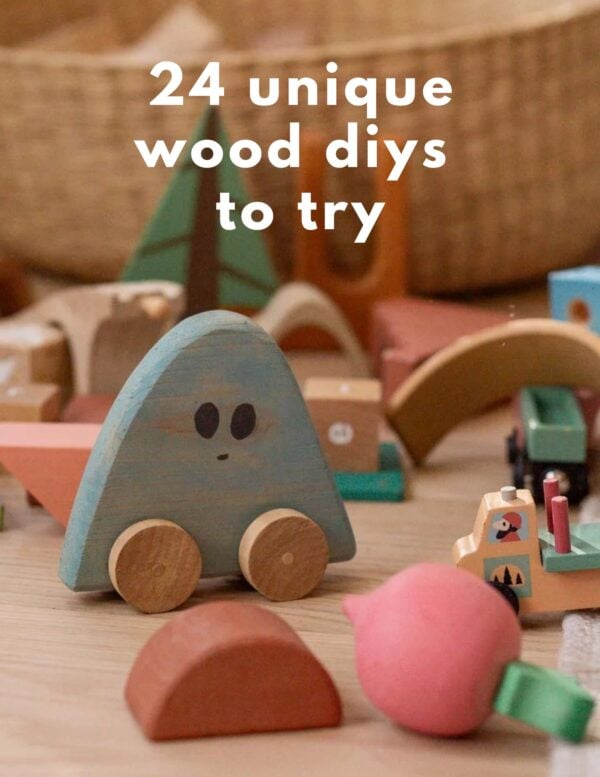
Credit: www.papernstitchblog.com
Frequently Asked Questions
What Materials Are Best For Educational Wooden Toys?
Use non-toxic, durable hardwoods like maple or beech. These woods are safe, sturdy, and have smooth finishes ideal for children’s toys.
How Do Educational Wooden Toys Aid Child Development?
They enhance motor skills, creativity, and problem-solving. Wooden toys provide tactile learning and encourage imaginative play in children.
What Tools Are Needed To Make Wooden Toys?
Basic tools include saws, sandpaper, clamps, and non-toxic paint. These help shape, smooth, and finish the toys safely and effectively.
Are Educational Wooden Toys Safe For Toddlers?
Yes, when made from smooth, splinter-free wood and non-toxic paint. Properly crafted wooden toys meet safety standards for toddlers.
Conclusion
Making educational wooden toys is simple and fun. Choose safe wood and smooth edges for children. Paint with non-toxic colors to keep kids healthy. Focus on shapes, numbers, or letters to help learning. These toys last long and encourage creativity.
Building toys by hand adds a special touch. Enjoy crafting and watch children learn with joy. Try making your own wooden toys today!