

Imagine the delight on your child’s face when they find a special place to park their beloved toy cars and trucks. Building an outdoor toy garage isn’t just a fun project; it’s a fantastic way to keep your yard tidy while giving your little ones a dedicated space to play and explore.
Have you ever wondered how you can create a charming, functional garage without breaking the bank? This guide will walk you through the simple steps to construct one, using materials you might already have at home. Ready to spark creativity, unleash your DIY skills, and make playtime even more exciting?
Let’s dive in and transform your backyard into a mini-motorway paradise!
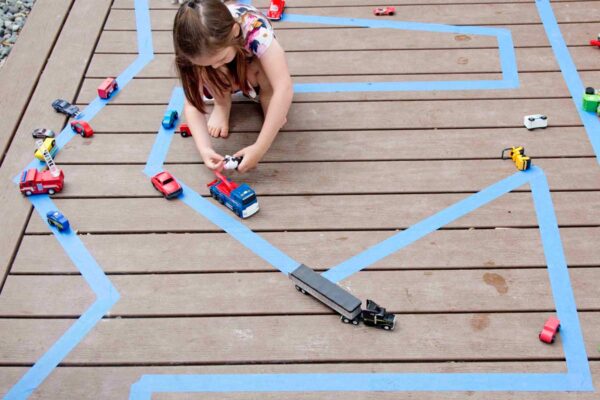
Credit: busytoddler.com
Choosing The Right Materials
Choosing the right materials is key to building an outdoor toy garage that lasts and keeps your kids safe. The materials you pick will affect how the garage stands up to weather, wear, and playtime roughness. Think about what will hold up best outside and what won’t cause any harm to your little ones.
Safe And Durable Options
Wood is a top choice for many because it feels natural and is sturdy. Cedar and redwood resist rot and insects without needing harsh chemicals, making them safer around kids.
If you want something low maintenance, consider plastic or PVC. These materials don’t splinter or warp, but make sure they’re thick and strong enough to handle rough play.
Metal can be very durable, but it heats up in the sun and can have sharp edges. If you choose metal, smooth all surfaces and add a weatherproof coating to prevent rust.
Paint and sealants should be non-toxic and lead-free. Your children will be close to the garage, so avoid anything with harmful chemicals.
Tools Needed For The Project
- Measuring tape– for precise cuts and fitting
- Power drill and screws– to hold pieces securely together
- Saw(circular or handsaw) – to cut wood or plastic panels
- Sandpaper– to smooth rough edges and prevent splinters
- Paintbrushes– for applying safe paint or sealant
- Level– to keep your structure even and stable
Gathering the right tools before you start makes the building process smoother and safer. Have you checked if your tools are in good condition? Dull blades or missing screws can slow you down or cause accidents.
Planning The Garage Design
Planning the design of your outdoor toy garage is a crucial step that sets the foundation for the entire project. Careful thought during this phase ensures the garage will fit perfectly in your space and meet your child’s play needs. It’s not just about building a structure; it’s about creating a fun and functional area that sparks creativity.
Measuring And Sketching
Start by measuring the area where you want to place the toy garage. Take note of any obstacles like trees, garden beds, or uneven ground that could affect the layout. Accurate measurements help avoid surprises later and make sure your garage fits comfortably.
After measuring, sketch a rough layout on paper. Don’t worry about artistic skills—simple shapes and lines work fine. This visual guide helps you organize the space and think through how the garage will look and function.
Ask yourself questions like: How much room do you need for cars and toys? Would adding shelves or ramps make playtime more exciting? This early brainstorming keeps your design focused and purposeful.
Deciding On Size And Features
Think about the size in relation to your child’s collection of toys. Will the garage hold just a few cars, or do you want space for larger vehicles and accessories? Planning for future growth can save you from rebuilding later.
Consider features that add value beyond storage. Windows for natural light, a door that swings open, or even a small workbench can make the toy garage more interactive. Each feature should serve a clear purpose to enhance play.
Remember, simplicity often works best outdoors. Too many complex parts might wear out quickly or require frequent repairs. What features do you believe will bring the most joy and durability to your design?
Step-by-step Construction
Building an outdoor toy garage is a fun project for kids and adults alike. The process is simple and rewarding. Follow these steps to create a sturdy, safe, and attractive toy garage.
Building The Frame
Start with a solid frame to ensure stability. Use wood planks for the base and sides. Cut the wood to the desired size for your garage. Join the pieces with nails or screws. Check that the frame is square and level. Reinforce corners with brackets for extra strength.
Adding Walls And Roof
Attach plywood or wooden panels to the frame for walls. Leave space for windows or doors if wanted. Secure the panels tightly with screws. For the roof, choose waterproof material like corrugated plastic or shingles. Fix the roof at a slight angle for water drainage. Seal edges to protect against rain.
Painting And Decorating
Use outdoor paint to protect the wood from weather. Choose bright colors to make the garage cheerful. Paint designs like windows, doors, or signs. Add shelves or hooks inside for toy storage. Let the paint dry fully before use to avoid damage.
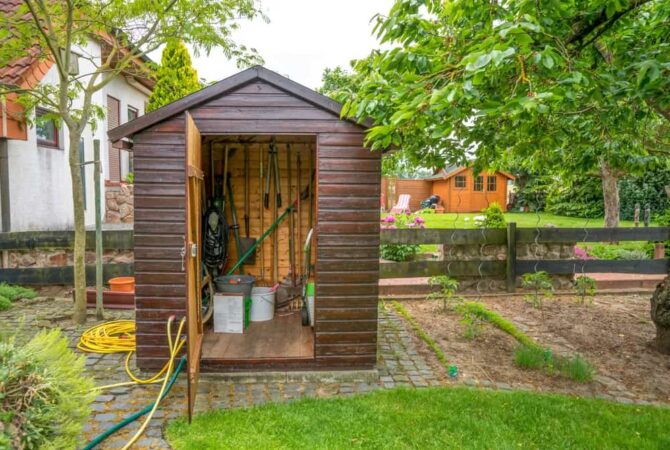
Credit: www.extraspace.com
Safety Tips And Maintenance
Safety and maintenance are vital for a lasting outdoor toy garage. A stable structure prevents accidents. Regular upkeep keeps the garage looking good and working well. Prioritize these steps to protect children and extend the garage’s life.
Ensuring Stability
Check the foundation for firmness. Use level ground to avoid tilting. Secure the garage with anchors or stakes for extra support. Tighten all screws and bolts regularly. Loose parts can cause the garage to wobble or collapse.
- Place the garage on flat, solid soil or pavement
- Attach it firmly to the ground with anchors or stakes
- Inspect screws and bolts monthly
- Replace damaged or worn-out hardware immediately
Weatherproofing The Garage
Protect the garage from rain and sun damage. Use waterproof paint or sealant on all wood surfaces. Cover openings with mesh or plastic to keep out water and insects. Clean debris and leaves regularly to prevent moisture buildup.
- Apply a weatherproof sealant every year
- Use a tarp or cover during heavy storms
- Clear gutters and drainage areas near the garage
- Store toys inside to avoid damage
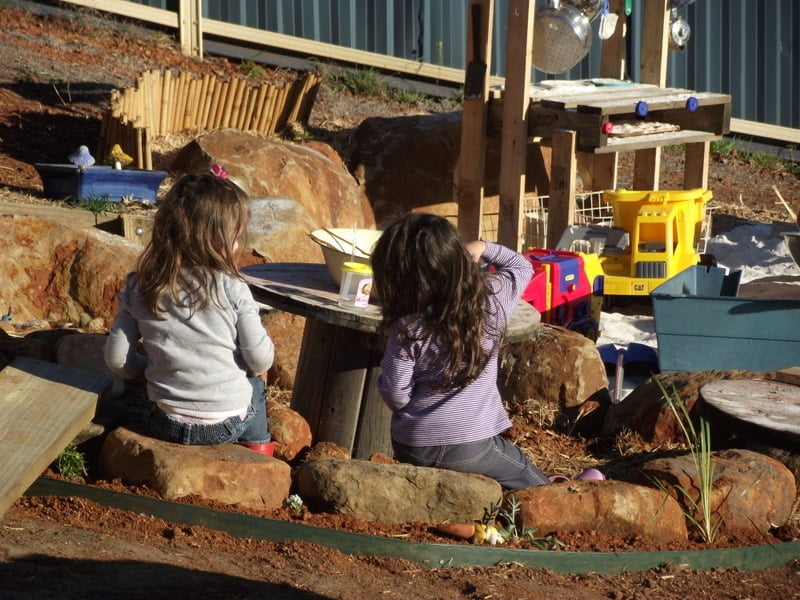
Credit: www.theempowerededucatoronline.com
Frequently Asked Questions
What Materials Are Best For An Outdoor Toy Garage?
Wood and weather-resistant plastic are ideal materials. They withstand outdoor conditions and are safe for children. Use treated wood or durable plastic to ensure longevity and safety.
How Do I Make An Outdoor Toy Garage Weatherproof?
Apply waterproof sealant or paint to all surfaces. Use weather-resistant screws and cover openings with plastic or fabric flaps. This protects the garage from rain and sun damage.
What Size Should An Outdoor Toy Garage Be?
Size depends on available space and toy dimensions. A 4×4 feet base is usually sufficient for most toy cars. Ensure enough height for easy access and play.
How Can I Add Storage To The Toy Garage?
Install shelves, hooks, or bins inside the garage. These help organize toys and keep the area tidy. Use weatherproof containers for outdoor durability.
Conclusion
Building an outdoor toy garage brings fun and order together. It keeps toys safe and easy to find. Kids enjoy having a special place for their cars. The project is simple and suits any backyard. Use basic tools and materials you already have.
This garage lasts long and stands up to weather. Try adding your own style or colors for fun. A toy garage encourages play and neatness every day. Start building today and watch smiles grow.