
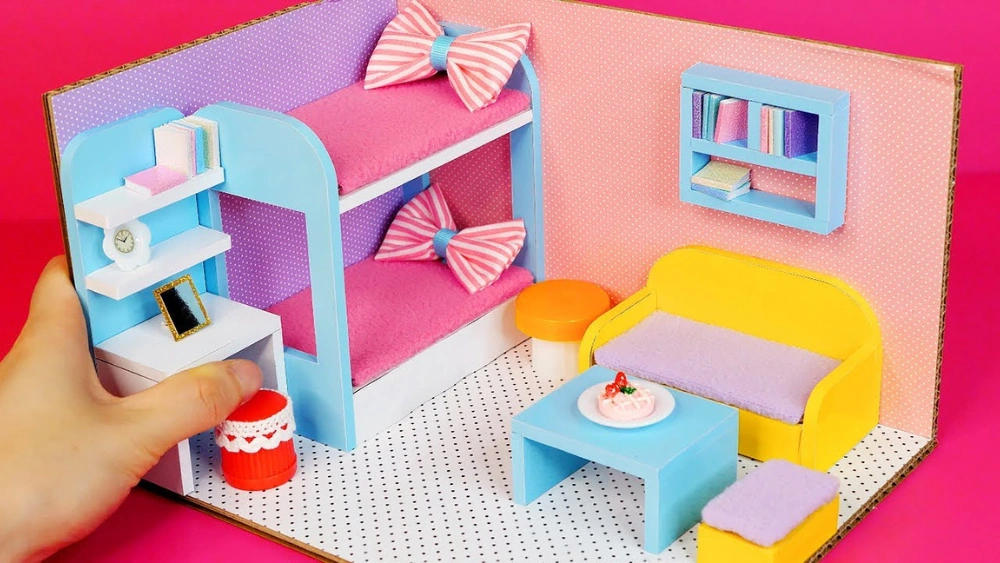
Are you ready to spark creativity and craft a cozy resting place for your child’s favorite doll? Making a toy doll bed is not only a fun and engaging project but also an opportunity to add a personal touch to your child’s playtime.
Imagine the joy on their face when they tuck their doll into a bed that you made with love and care. In this guide, you’ll discover simple steps to create a charming doll bed that will fit perfectly into any dollhouse or play area.
Whether you’re a seasoned DIY enthusiast or a crafting newcomer, you’ll find this project rewarding and surprisingly easy. So, let’s dive in and transform some basic materials into a delightful piece of miniature furniture that will become a cherished part of your child’s playtime adventures.

Credit: www.youtube.com
Materials Needed
Gathering the right materials makes building a toy doll bed easier and more fun. The supplies should be simple and safe for crafting. Basic items form the bed’s structure. Extras help add personality and style.
Choose materials that suit your skill level and the doll’s size. Keep tools handy for cutting and assembling. Prepare a clean workspace before starting your project.
Basic Supplies
- Wooden craft sticks or small wooden planks
- Wood glue or strong craft glue
- Sandpaper for smoothing edges
- Small saw or craft knife for cutting wood
- Ruler or measuring tape
- Pencil for marking measurements
- Clamps or rubber bands to hold pieces while drying
- Fabric scraps for mattress and pillows
- Cotton or stuffing for padding
- Paint or markers for coloring
Optional Decorative Items
- Miniature buttons or beads for bed details
- Ribbon or lace trim for accents
- Stickers or decals to decorate surfaces
- Glitter for sparkle effects
- Small craft flowers or felt shapes
- Yarn or string for bedspread tassels
- Fabric paint for patterns on bedding
- Miniature pillows or doll blankets
Credit: boxycolonial.com
Simple Bed Designs
Simple bed designs are perfect for crafting a toy doll bed that’s both charming and easy to make. These designs use everyday materials and basic techniques, making them accessible even if you’re new to DIY projects. You’ll find that a straightforward approach can yield delightful results without needing fancy tools or skills.
Cardboard Doll Bed
Cardboard is a fantastic material for a quick and budget-friendly doll bed. You can start by cutting out a rectangular base and two side panels from a sturdy piece of cardboard. Use glue or tape to attach the sides upright, creating a cozy little frame.
Add some color with paint or wrap the bed in patterned paper to give it a personalized touch. A small fabric pillow or a cotton ball wrapped in cloth makes a comfy mattress. Have you ever noticed how simple materials can turn into a child’s favorite toy with just a bit of creativity?
Wooden Pallet Bed
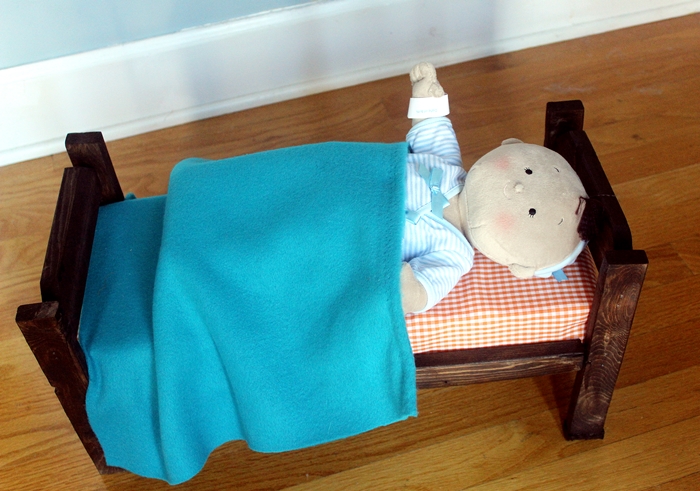
Using small wooden pallets can give your doll bed a rustic and charming look. You’ll need to sand the wood gently to avoid splinters and cut it to a suitable size for your doll. Nail or glue the pieces together to form a flat base with a low headboard.
Finish it off with a soft cushion or a mini blanket made from fabric scraps. The natural wood texture brings a warm feel that cardboard can’t match. Do you think your doll would prefer the sturdy feel of wood or the soft touch of fabric?
Step-by-step Assembly
Building a toy doll bed can be a fun and rewarding project, especially when you see the final product come together piece by piece. The assembly process breaks down into manageable tasks that anyone can do with a bit of patience and attention to detail. You’ll find that taking your time during each stage ensures a sturdy and charming bed that your doll will love.
Cutting And Shaping
Start by carefully measuring the wood pieces according to the size of your doll bed design. Use a fine saw to cut the pieces—this helps keep the edges smooth and accurate. Shaping the wood by sanding the edges will prevent splinters and give your bed a professional look.
Have you noticed how small imperfections can throw off the whole fit? Take a moment to double-check your measurements before cutting. It saves time and avoids frustration later on.
Gluing And Securing
Once your pieces are cut and shaped, arrange them to see how they fit together. Use a strong wood glue on the joints, applying it evenly to ensure a solid bond. Holding the pieces in place with clamps while the glue dries helps keep everything aligned perfectly.
If you want extra stability, small nails or screws can reinforce the glued joints. But be gentle; too much force can split the wood. Ask yourself: does each piece feel firmly connected before moving on?
Adding Finishing Touches
After the glue has dried, it’s time to add details that make the bed special. Sand the entire bed lightly to smooth any rough spots. Painting or staining the wood can add color and protect the surface.
Consider adding tiny pillows or a miniature blanket to complete the look. These simple additions transform your project from a basic bed into a cozy home for your doll. What small detail will you add to make your doll bed unique?
Customizing Your Doll Bed
Customizing your doll bed is where creativity truly shines. This step lets you transform a simple structure into a unique piece that reflects your style and the personality of your doll. Think about what colors, textures, and details will make the bed stand out and feel special.
Painting And Decorating
Choose paint colors that match your doll’s personality or your room’s theme. Bright colors can make the bed playful, while soft pastels create a calm, cozy vibe. Use small brushes for detail work or stencils to add patterns like stars, hearts, or stripes.
Adding stickers or decals can be a quick way to personalize without much effort. You might want to try hand-painting your doll’s name or a fun design on the headboard to make it truly one-of-a-kind. Remember, a clear coat finish will protect your paint and keep your bed looking fresh for longer.
Adding Bedding And Accessories
Think beyond just a mattress—adding pillows, blankets, and even tiny stuffed toys can make your doll’s bed feel inviting. Use scrap fabric or old clothes to sew simple bedding sets. You don’t need to be a pro sewer; even no-sew options like fabric glue or safety pins work great.
Consider adding little details like a bedside rug or a tiny lamp made from craft supplies. These extras make the bed look lived-in and loved. How can you use everyday household items to create charming accessories that add personality without spending much?

Credit: www.youtube.com
Frequently Asked Questions
What Materials Are Needed To Make A Toy Doll Bed?
To make a toy doll bed, you need wood, nails, glue, sandpaper, and paint. Optional items include fabric for bedding and small screws for extra stability. These materials are affordable and easy to find at craft or hardware stores.
How Long Does It Take To Build A Toy Doll Bed?
Building a toy doll bed typically takes 1 to 3 hours. Time varies based on design complexity and skill level. Simple models can be finished quickly, while detailed beds require more precision and drying time for paint or glue.
Can I Customize The Toy Doll Bed Design?
Yes, you can customize the toy doll bed design. Change bed size, color, and decorations to suit preferences. Adding fabric cushions or themed paint makes the bed unique and fun for kids.
What Tools Are Essential For Making A Toy Doll Bed?
Essential tools include a small saw, hammer, screwdriver, measuring tape, and paintbrushes. Sandpaper smooths edges. These basic tools help create a sturdy and polished toy doll bed efficiently.
Conclusion
Making a toy doll bed can be simple and fun. You only need a few materials and some patience. Follow the steps carefully and take your time. This project helps you create a special place for dolls. Kids love playing with their own handmade furniture.
It also teaches basic crafting skills. Try different colors and designs to make it unique. Enjoy the process and feel proud of your work. Small projects like this bring big smiles. Keep crafting and exploring new ideas for toys.